Learn how to upload, edit and delete documents on an application record.
Upload document
Uploading a document is pretty simple. The process of uploading a document into an application record is show below.
Click on the ‘Documents’ item on the side bar menu appearing on the application record page.
Click on the ‘+’ Create Document Icon on the document pane. A pop-up window to upload document opens up.
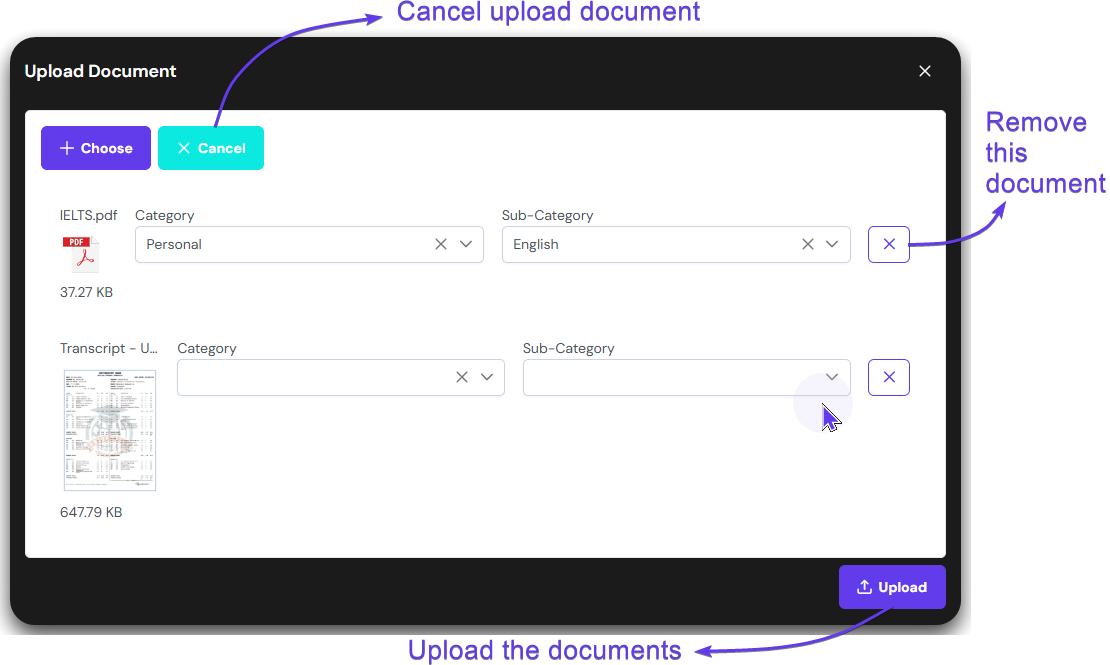
Click on “+ Choose’ button or drag and drop the items you want to upload.
Select the suitable ‘Category’ and ‘Subcategory’ for each document.
You can dismiss uploading by clicking on the cancel button. You can also remove one item by clicking on the ‘X’ button at the end of that document. Click on Upload button to finish uploading the document.
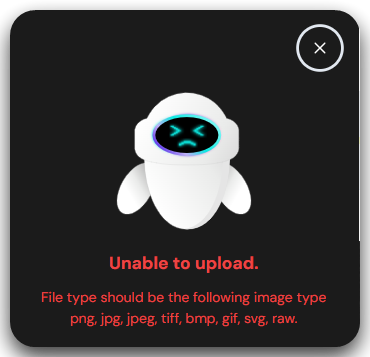
The system only accepts these file types: .PNG, .JPG, .JPEG, .PDF, .TIFF, .GIF, .SVG, .RAW. If you upload any other file types, you will get this error.
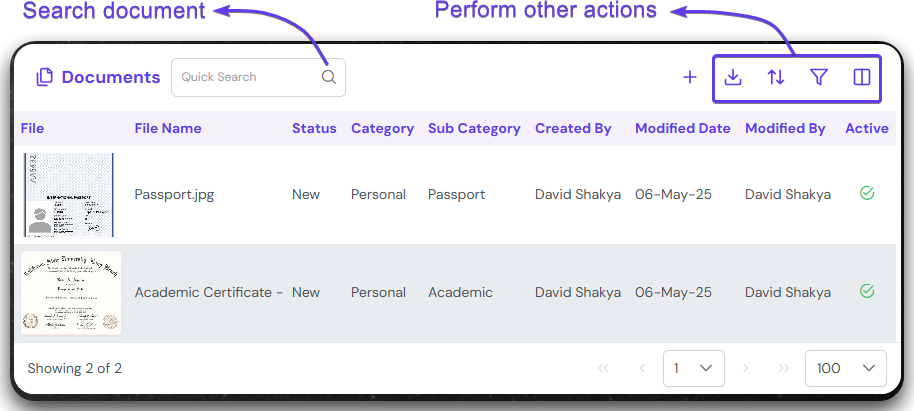
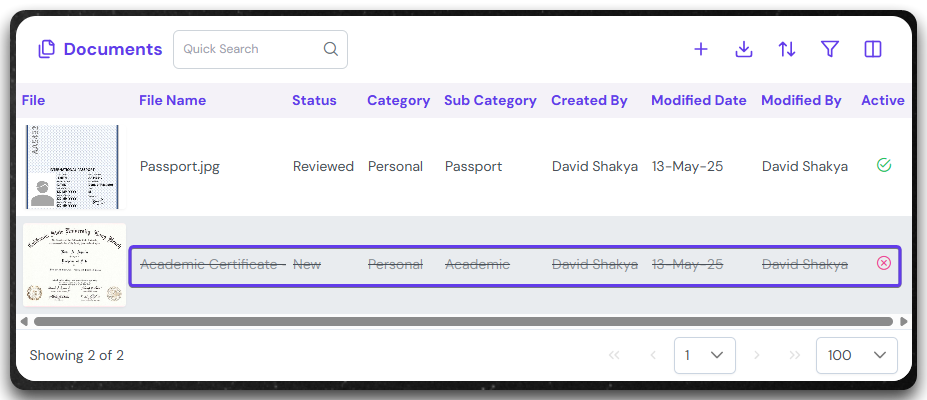
Once the documents are uploaded, you will be able to see it like a list. You can search for a document and perform other actions like sorting, filtering etc.
Preview document
The uploaded documents can be previewed online. You will also be able to do it following the guided steps below.
Click on the Thumbnail of the document.
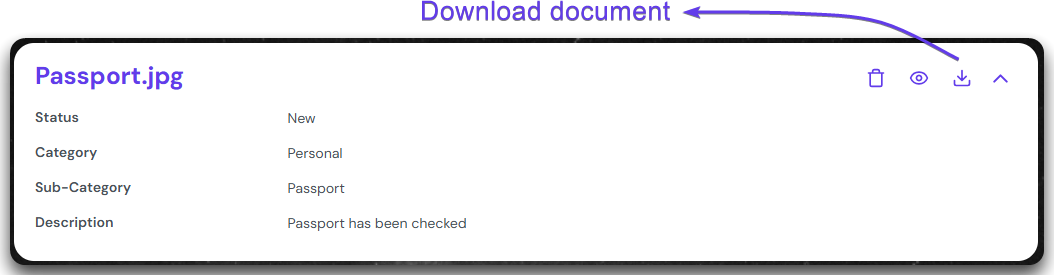
New document window opens. Click on the ‘Eye’ like icon. The document will preview on the next tab.
Click on the download button to save the document into your PC.
Edit document details
The document details like description can help anyone understand better about the document. Also, change the status of the document to Review of Verified reflecting the current status. Follow the steps below to understand how to edit details or add the description.
After opening the document hover over on the value that you want to edit or add. You will be able to see the pen icon to edit and copy icon to copy the value.
Click on the pen icon to start your edit. In the example here, we are adding the description of the document or if anything needs addressing.
The other things you can edit is the Status, Category and Sub-Category. The example shows changing the document status.
Delete a document
Deleting a document might not be a highly recurring task, but when needed, it is one of the most crucial features.
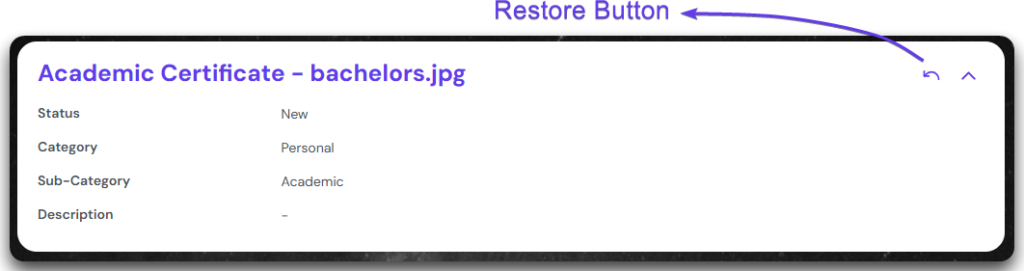
After opening the document click on the trash can icon on the top right corner of the description card. You will receive a confirmation message, in which you will have to click ‘Yes’. The document will be deleted.
Note that the icon changes to restore button. You can click on it to restore the deleted document.
And on the list view, it will appear with a strikethrough.