Learn how to add, edit and delete various contacts of the student.
Create a Contact
A student could give contact details of different person. It could be an emergency contact, professional contact, referral or references. All of those can be recorded in the Contact section. How to add a contact record has been shown below.
Click ‘Contact’ on the side bar menu appearing on the Student Record page.
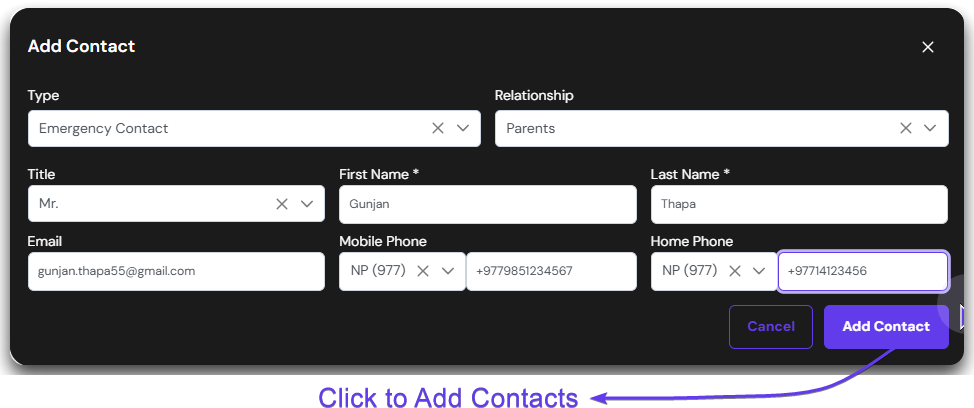
Click on the ‘+’ icon or ‘Create Contact’ button. A pop-up window will appear.
On the Add Contact pop-up window, under Type, select your desired type of contact from the drop down. The organization you are associated with can define what to list on the drop-down menu.
Now the relationship field becomes active. The drop-down menu here will only show the relations define under the selected contact type. In this example we are defining emergency contact, thus selected Parents.
Now the relationship field becomes active. The drop-down menu here will only show the relations define under the selected contact type. In this example we are defining emergency contact, thus selected Parents.
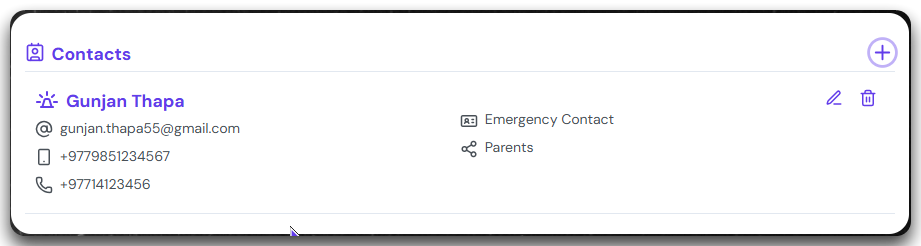
Once the contact is added, it will appear on the contact panel like the image on the left.
Edit a Contact.
A contact can be edited in case the information changes or is incorrect. Follow the step below to perform the same.
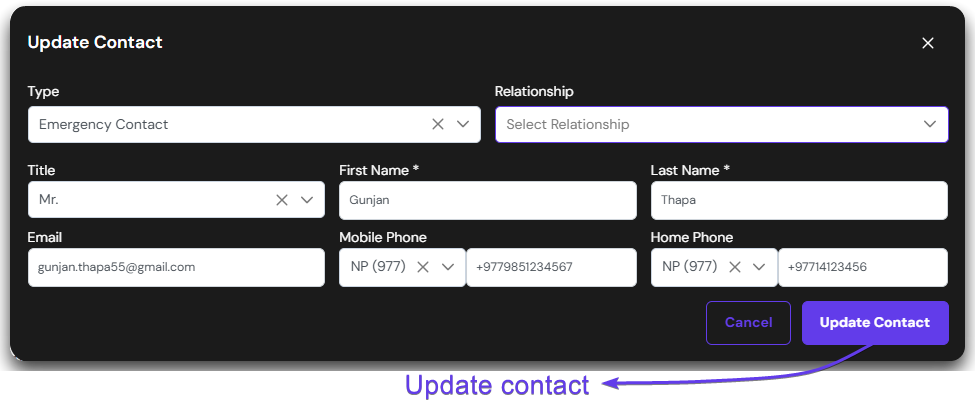
Click on the pen icon appearing at the top right corner of the contact card. The contact will be editable in another window.
Make the necessary changes and click on the update contact button to save the changes. The changes will be reflected
Once the update is successful you will receive a notification message stating ‘Contact Updated’. The changes will then be reflected on the contact card on the right pane.
Delete a Contact.
You can delete a contact if you want to remove it from the student. To do so, follow the steps below.
Click on the trash icon appearing at the top right corner of the contact card. Click on ‘Yes’ on the confirmation.
The details of the contact will be removed. The card will no longer be displayed.