Learn how to add, edit and delete comments to the student record.
Create a Comment
Create a comment to keep track of any happenings and information of the student you are processing.
Click on the ‘Comment’ icon on the side bar that appears on the student record page. The comment pane appears.
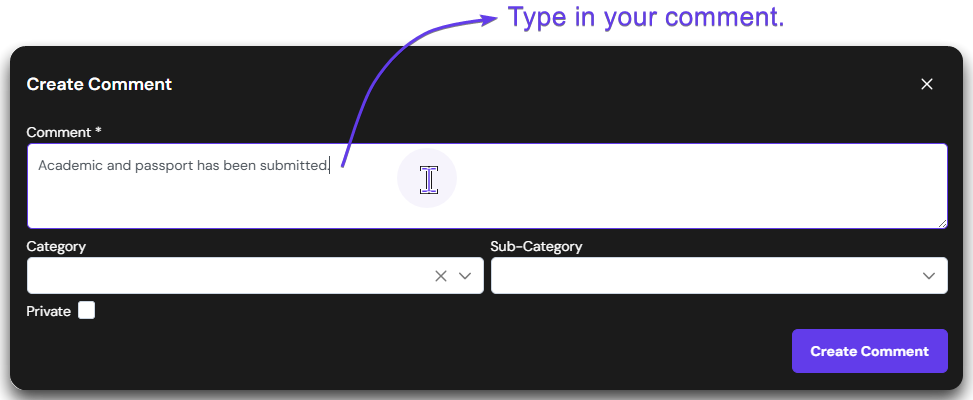
Click on the ‘+’ icon to create a comment. A pop-up window appears where you can write the comment.
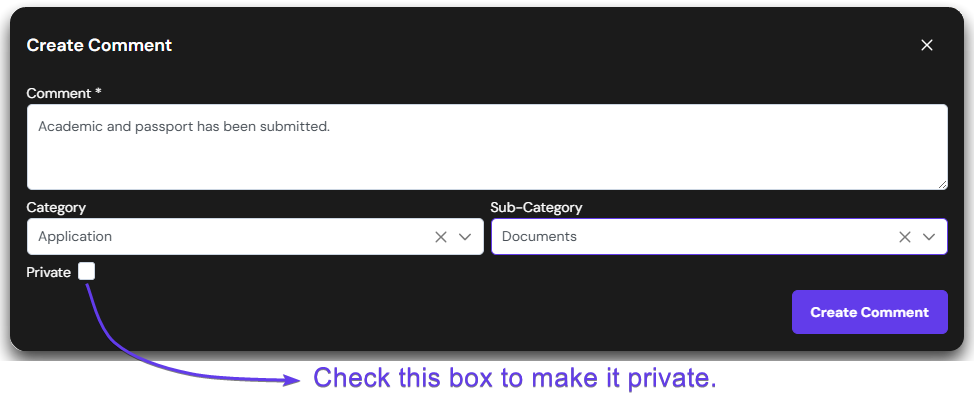
Type in your comment in the text box under ‘Comment’. This is a mandatory field.
Select the Category and Sub-Category of the comment. This will help you group similar comments into a category. This is not mandatory fields and can be skipped. Also, the listing on the Category and Sub-Category can be customized as needed from the admin console.
Comments can be made Private; meaning only your team can view them, not the service partner that has sent the student. Click the ‘Private’ checkbox to make the comment private.
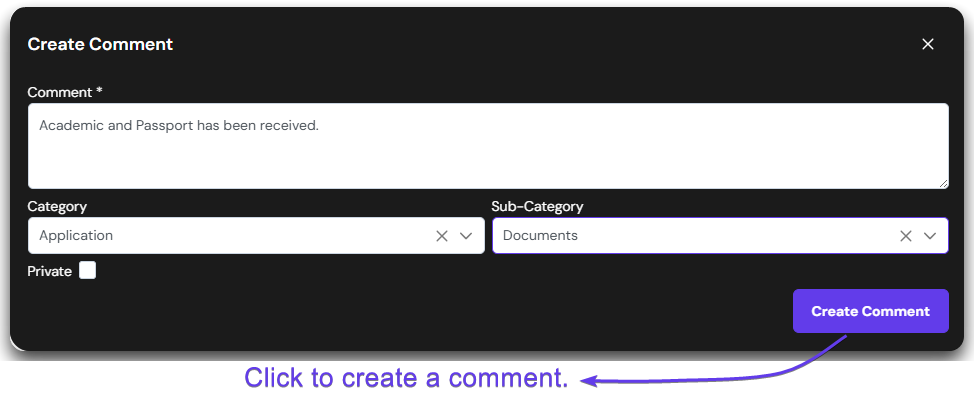
Once everything is ready, click on the ‘Create Comment’ button to create this comment.
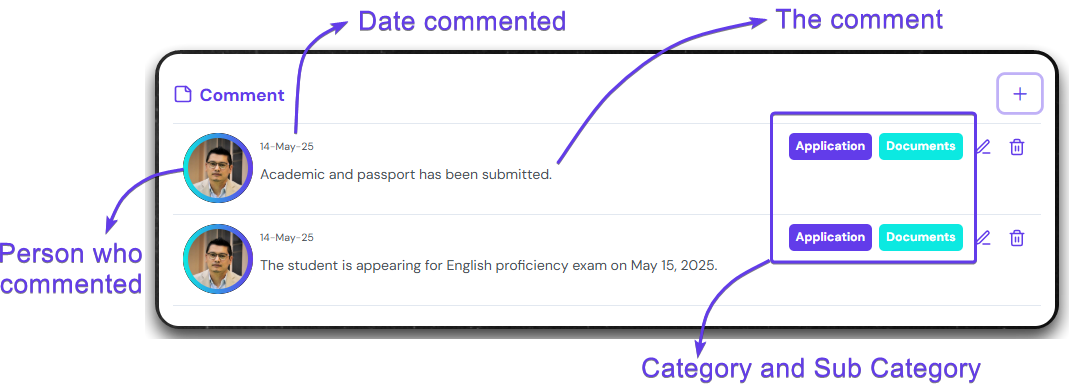
After the comment is create, you can see the details of the comment for each comment on the Comment pane
Edit a Comment
A comment can be edited after being created. See how to edit the comment from the steps below.
Click on the ‘Pen’ icon to start editing the comment.
The update contact window appears. You can change the comment, category and sub-category.
You can click on the ‘Update Contact’ button to save the edits that you have made. Once clicked, the changes will be reflected on the comment pane.
Delete a Comment
If the comment has an error or is not needed, it can be deleted. Follow the steps below to see how a comment can be deleted.
A ‘Trash’ icon appears on each comment. Click on the icon on the comment you want to delete. It will ask you to confirm deletion. Clicking ‘Yes’ will delete the comment. The deleted comment will no longer be visible.