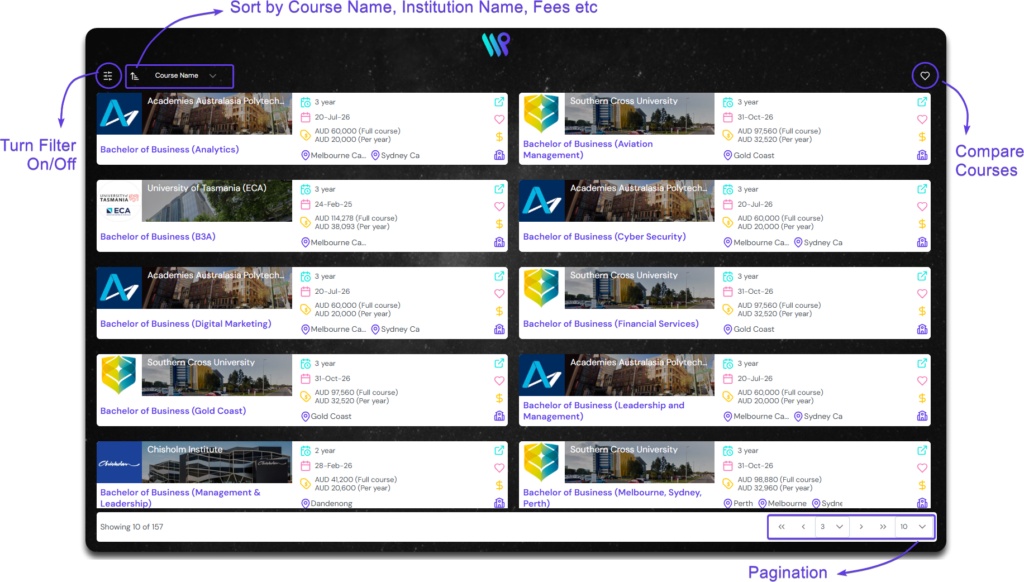
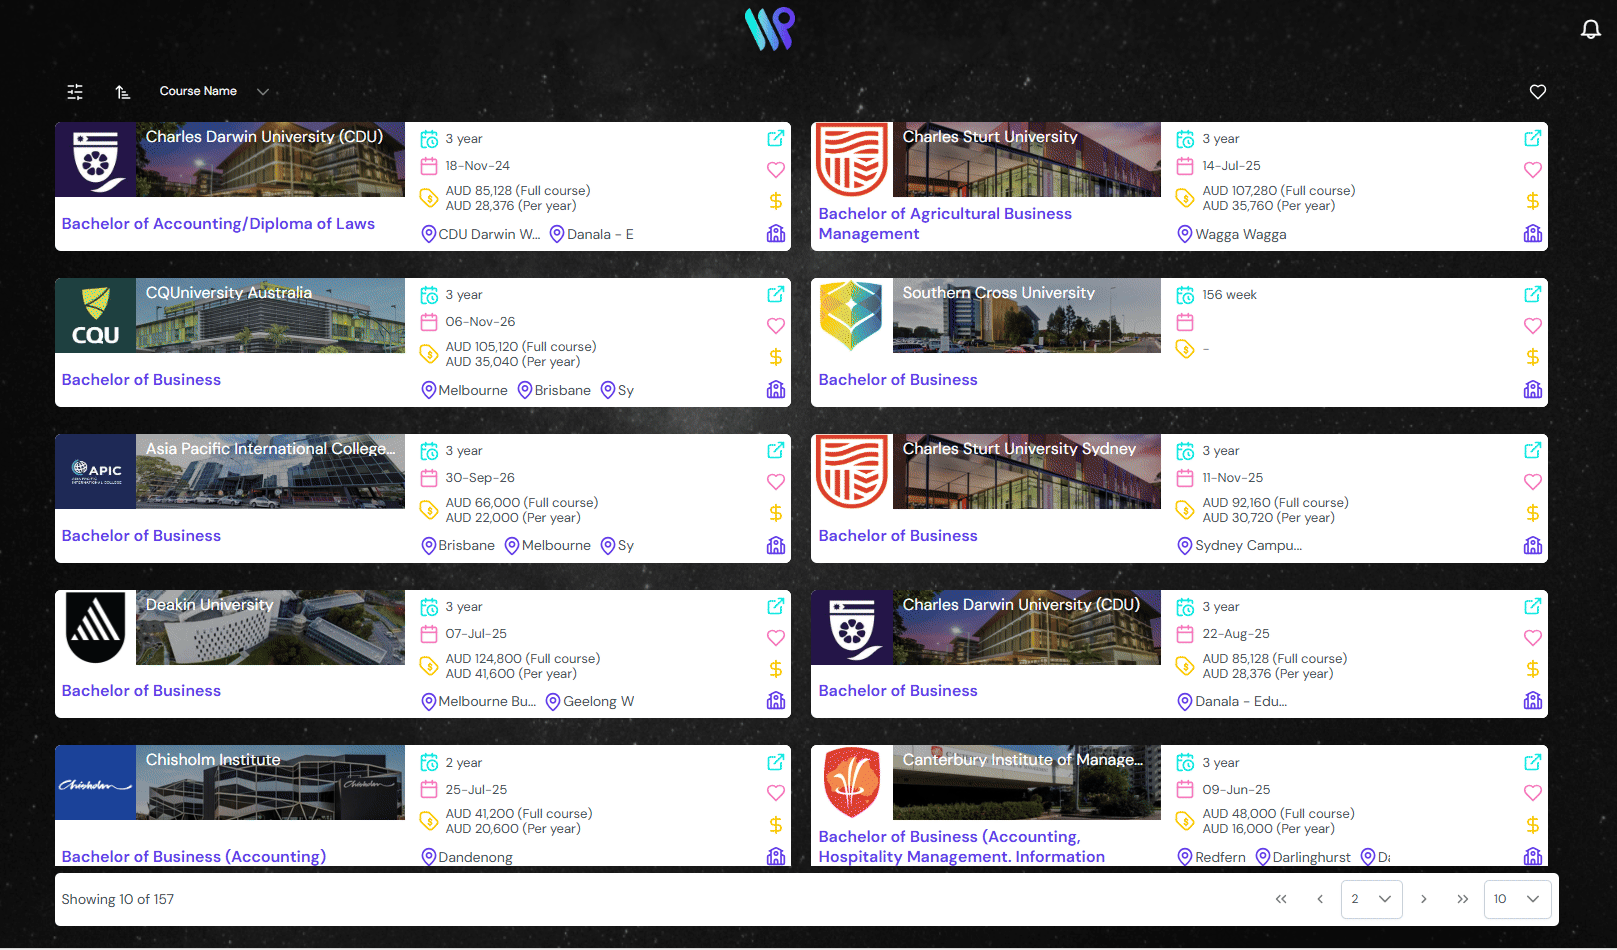
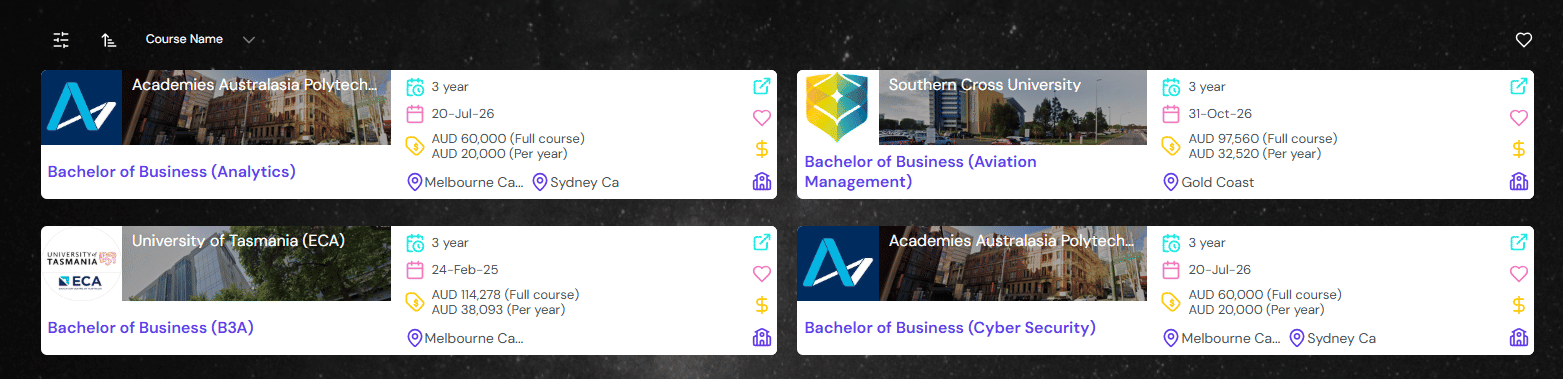
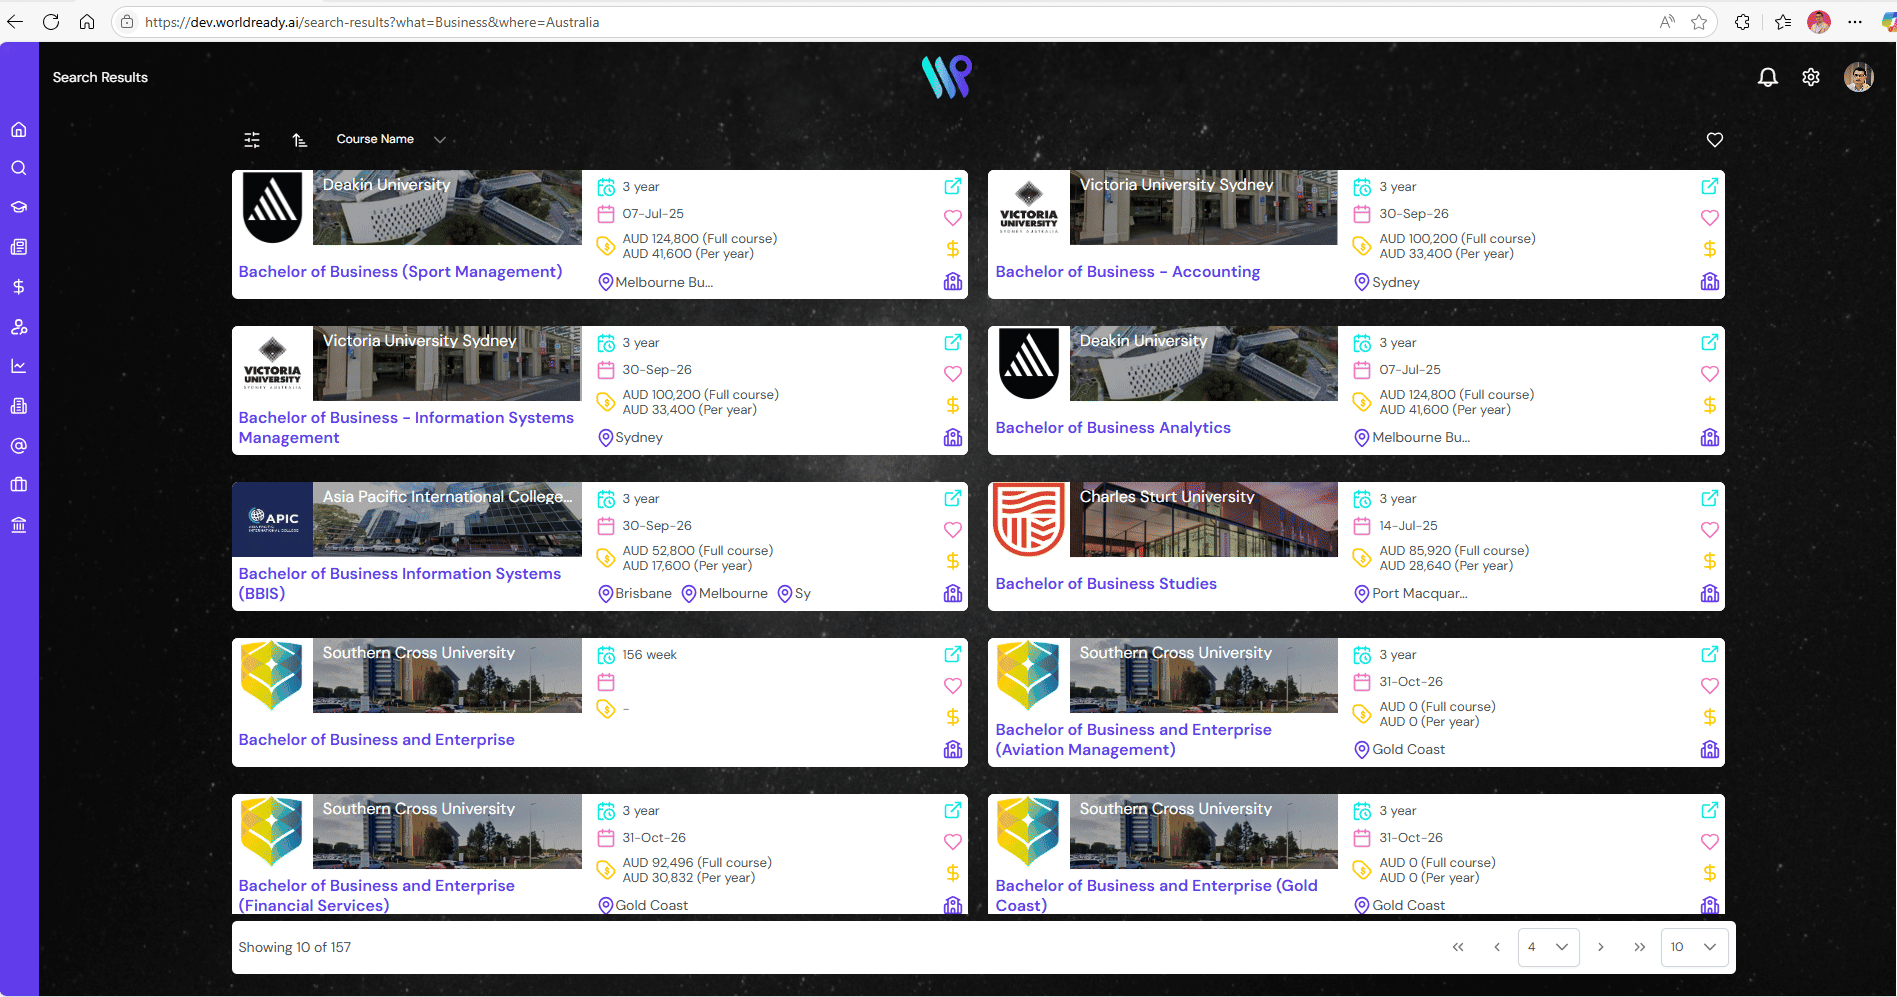
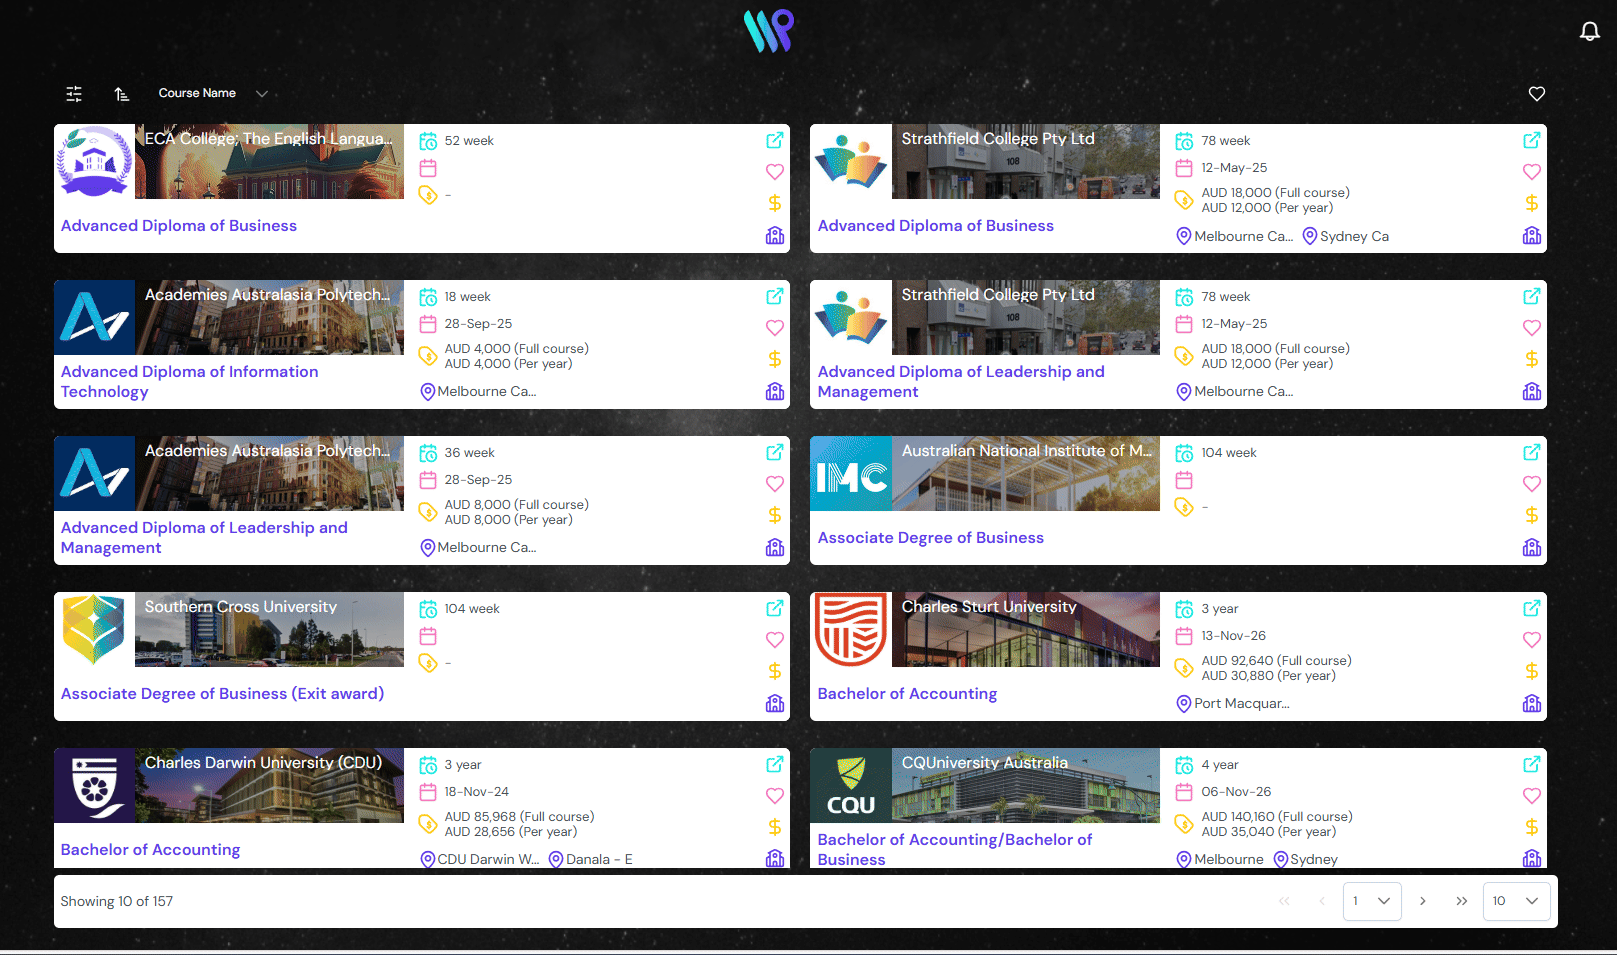
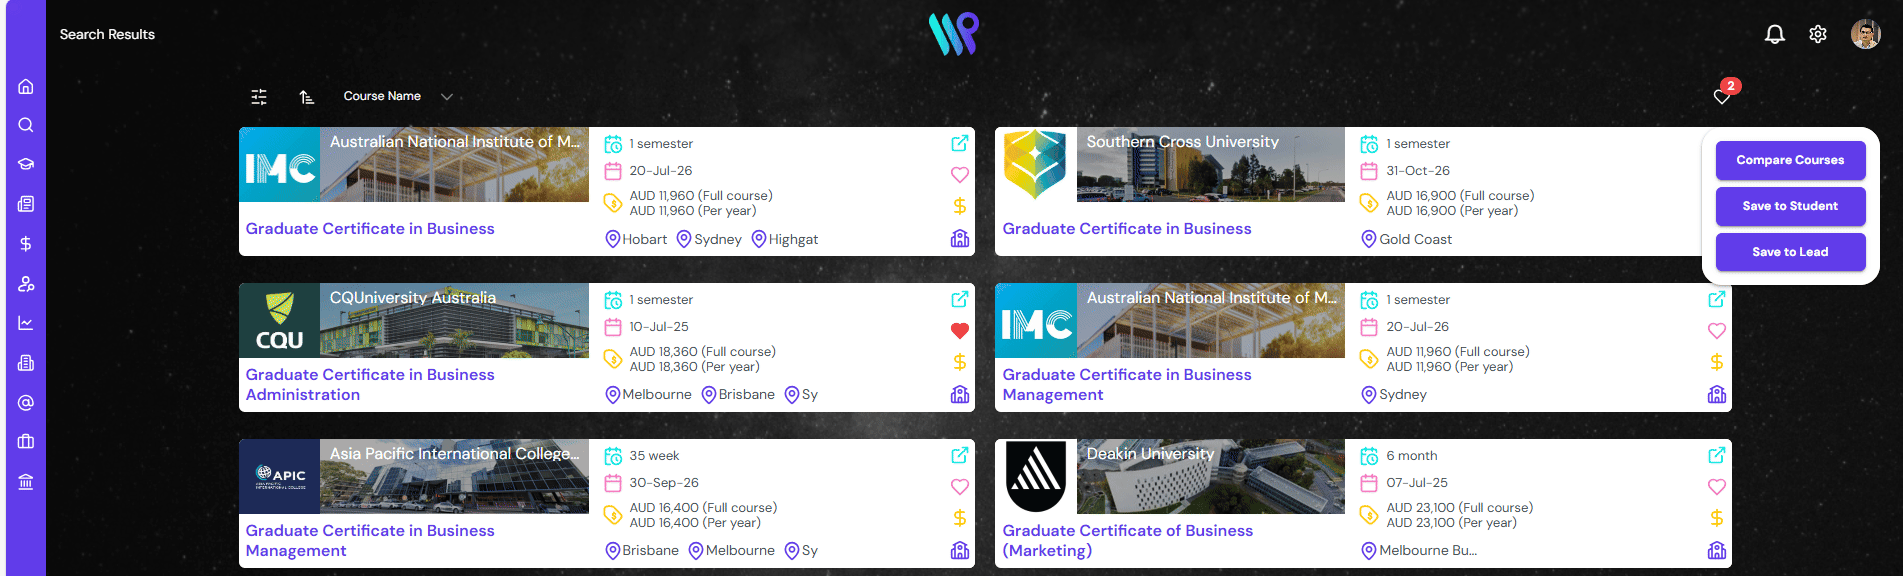
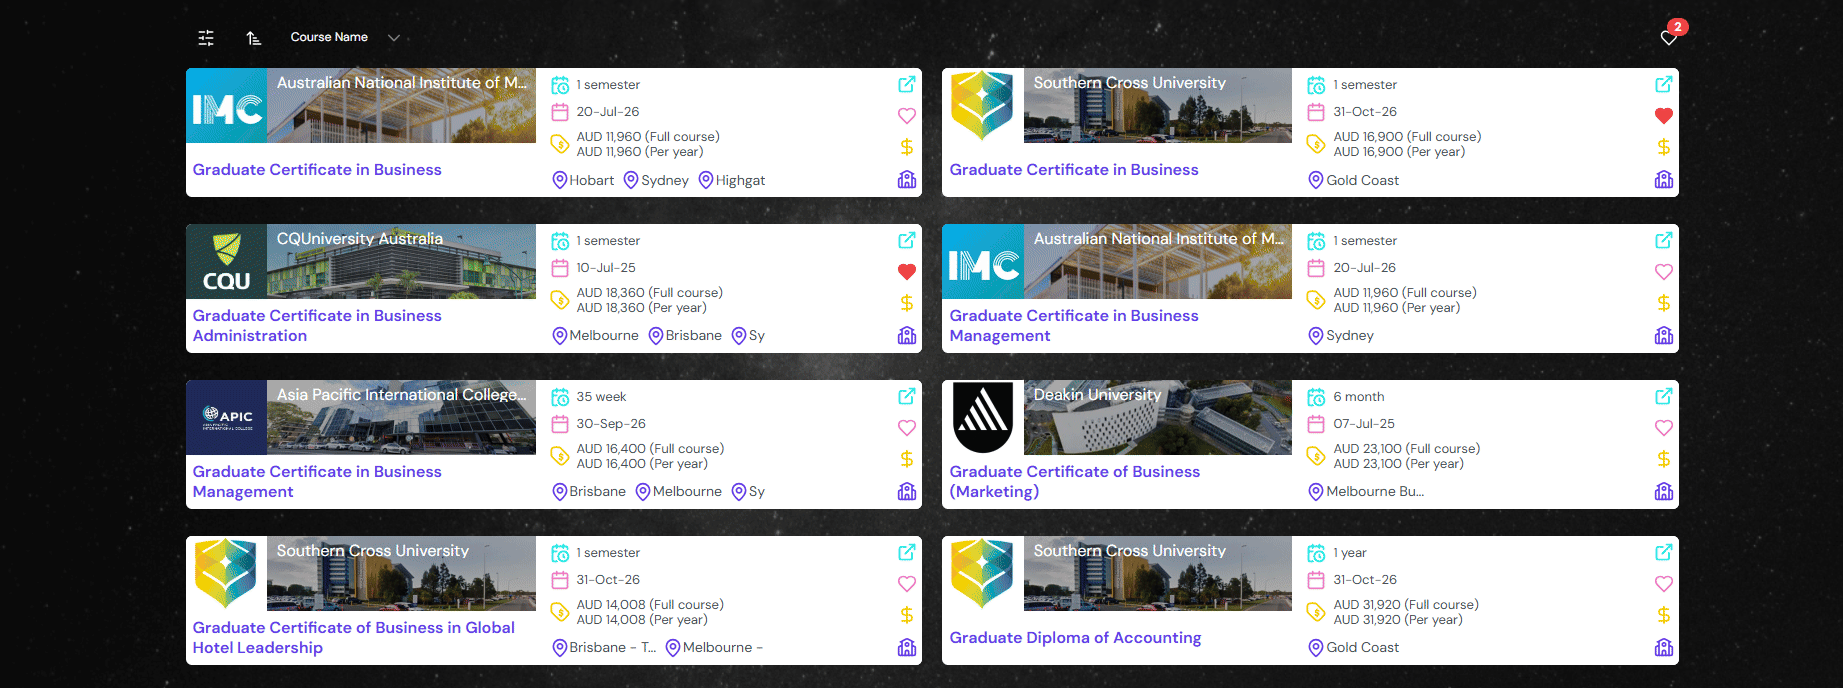
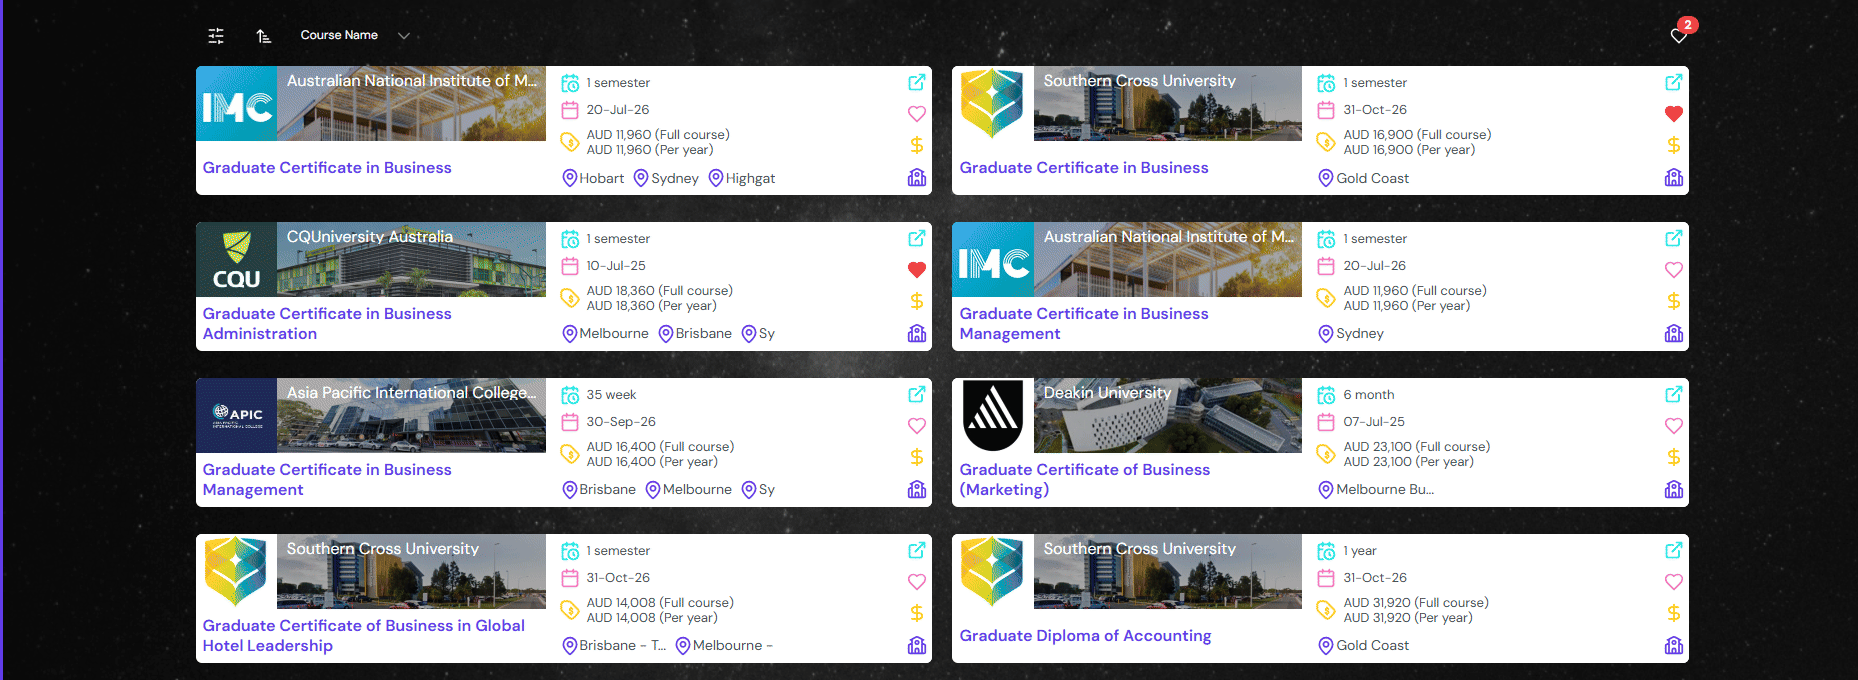
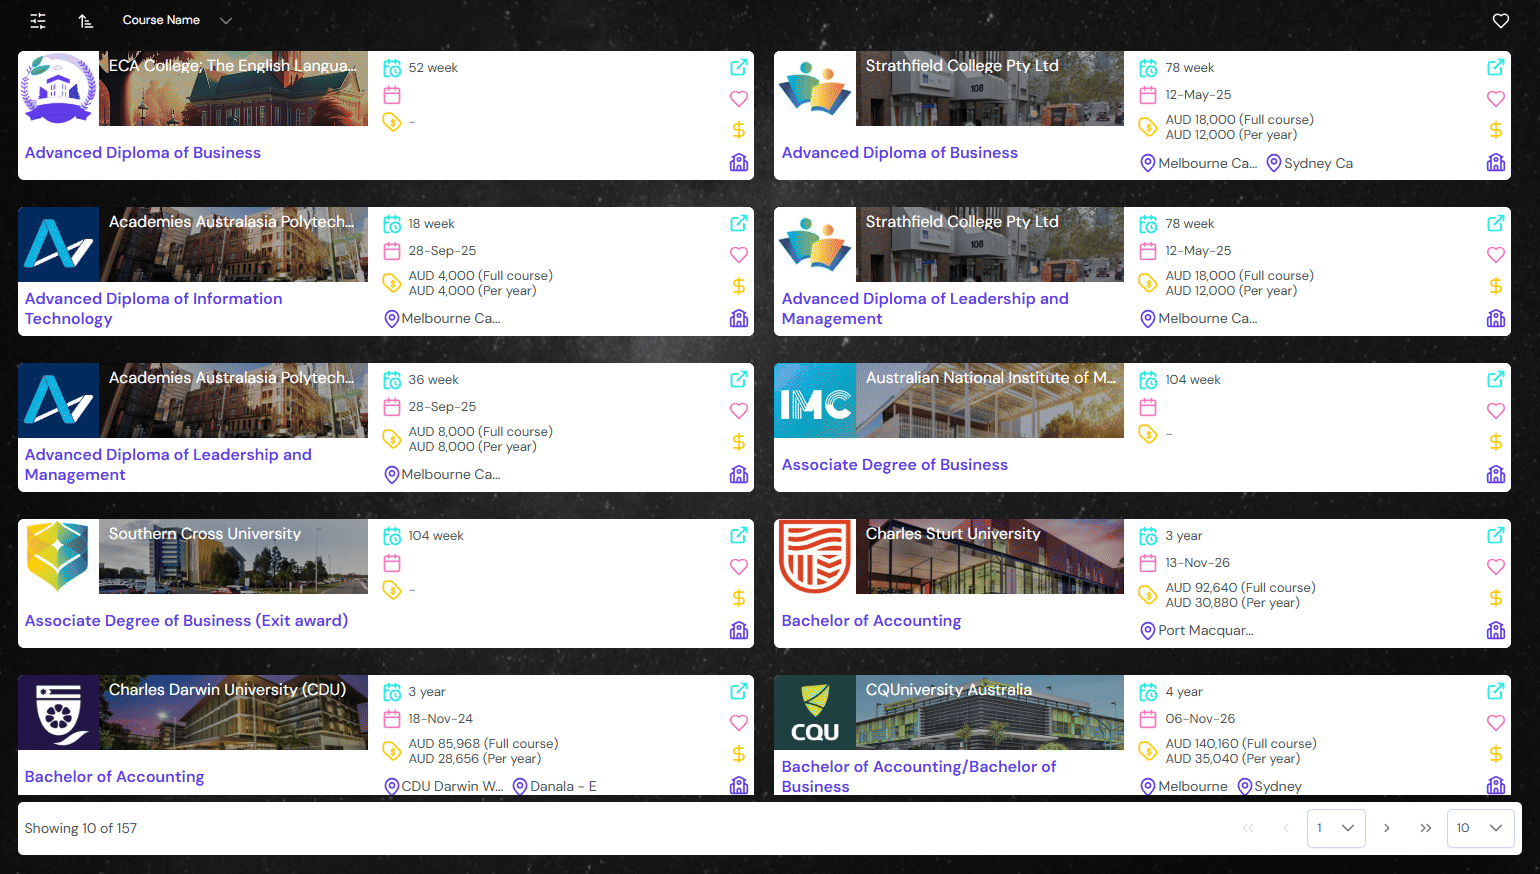
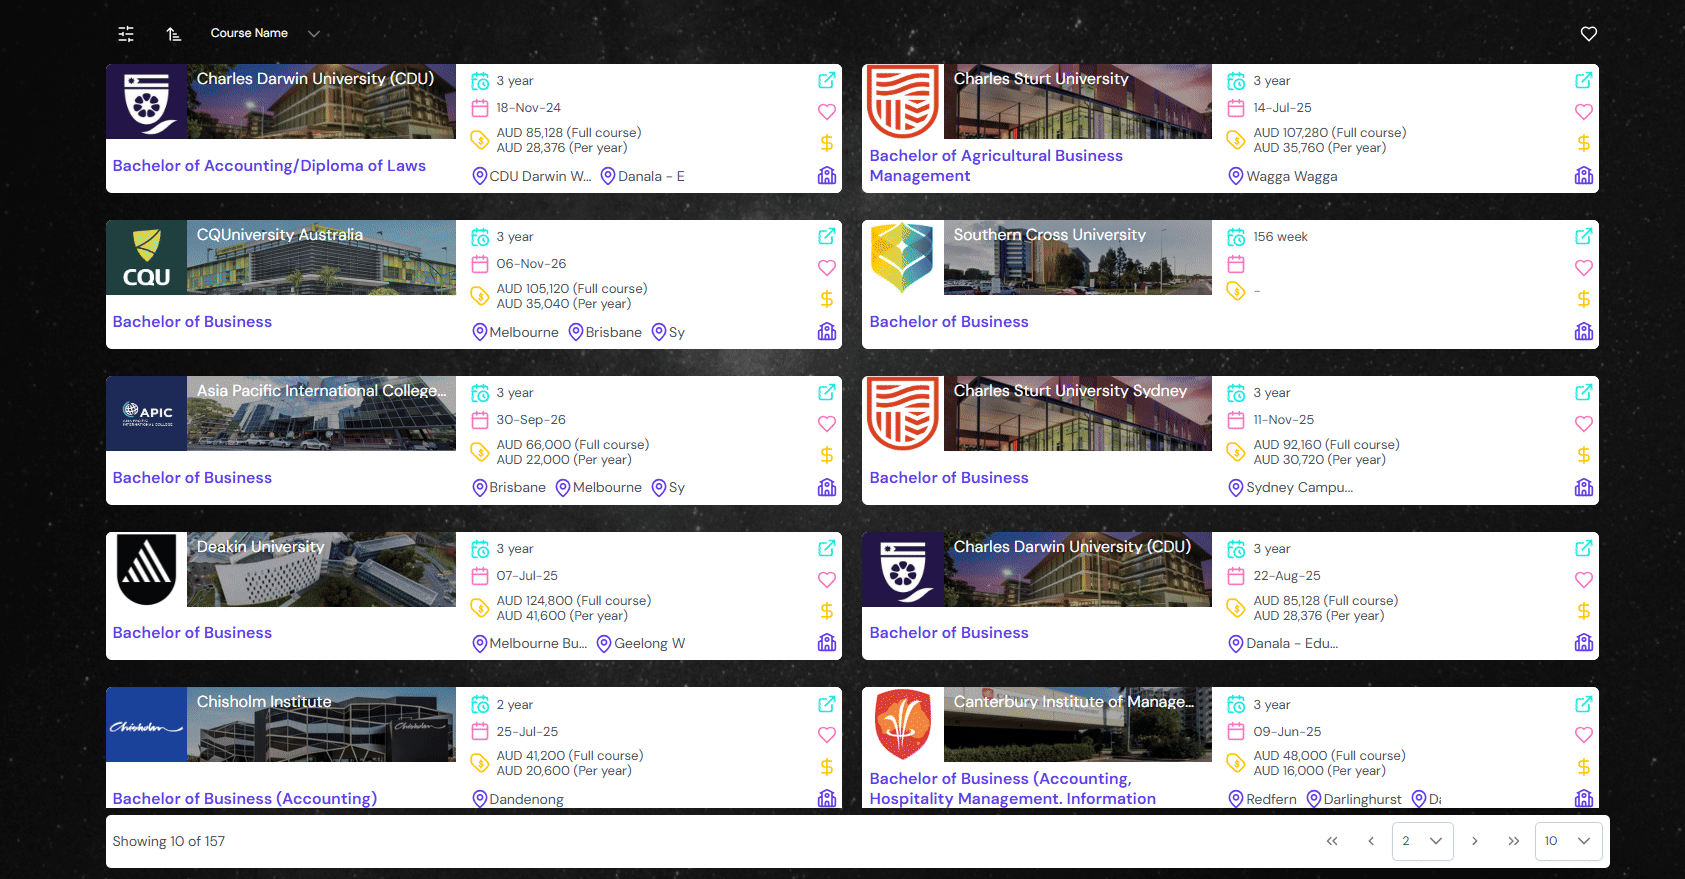
View different course options as search results. Filter the options and receive detailed information on each course from the search results.
Course Search Results Page
Clicking on ‘View Search Results’ after doing a Quick Search or ‘Advanced Search‘ will lead you to this page. You can see various function buttons on the page to filter results, sorting, pagination, and compare courses.
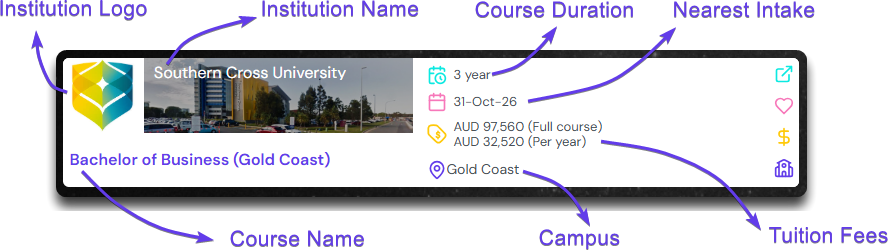
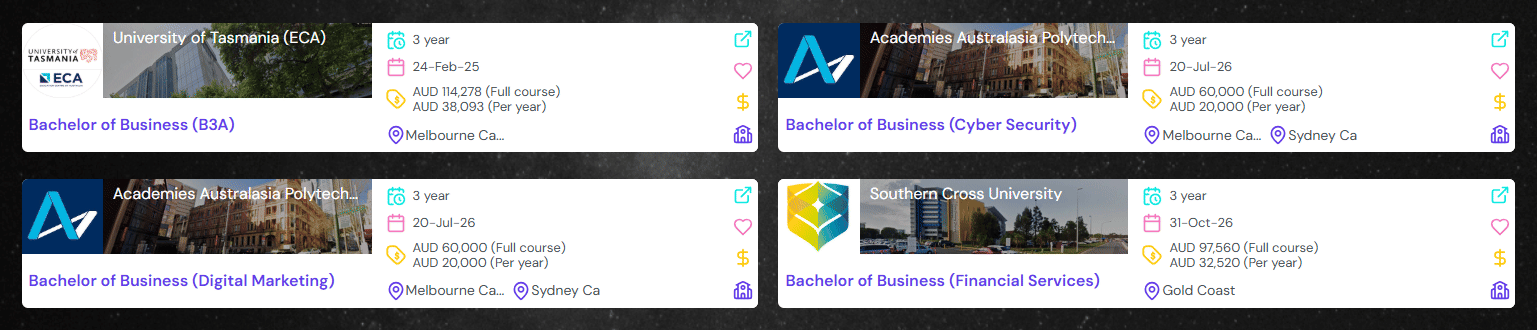
Course Details on Each Card
Each card holds a lot of information about the course. Besides the institution name and the course name, it can provide information like course duration, intake dates, total and annual fees, campus location.
Apart from that, the buttons of the right side of the card have its own functions like
View Details
Click to open details pane on the right side to get the in-depth information of the course and admissions process. The details on the right pane that appears is discussed on Course Details page
Favourite Course
Mark the course as favourite to compare or save to student or leads. This is discussed in another section below.
View Commission:
Display commission of the course on the card. This will be visible to those allowed from the admin console.
View the course in institution:
Clicking here will open the same course’s information on the institution’s website.
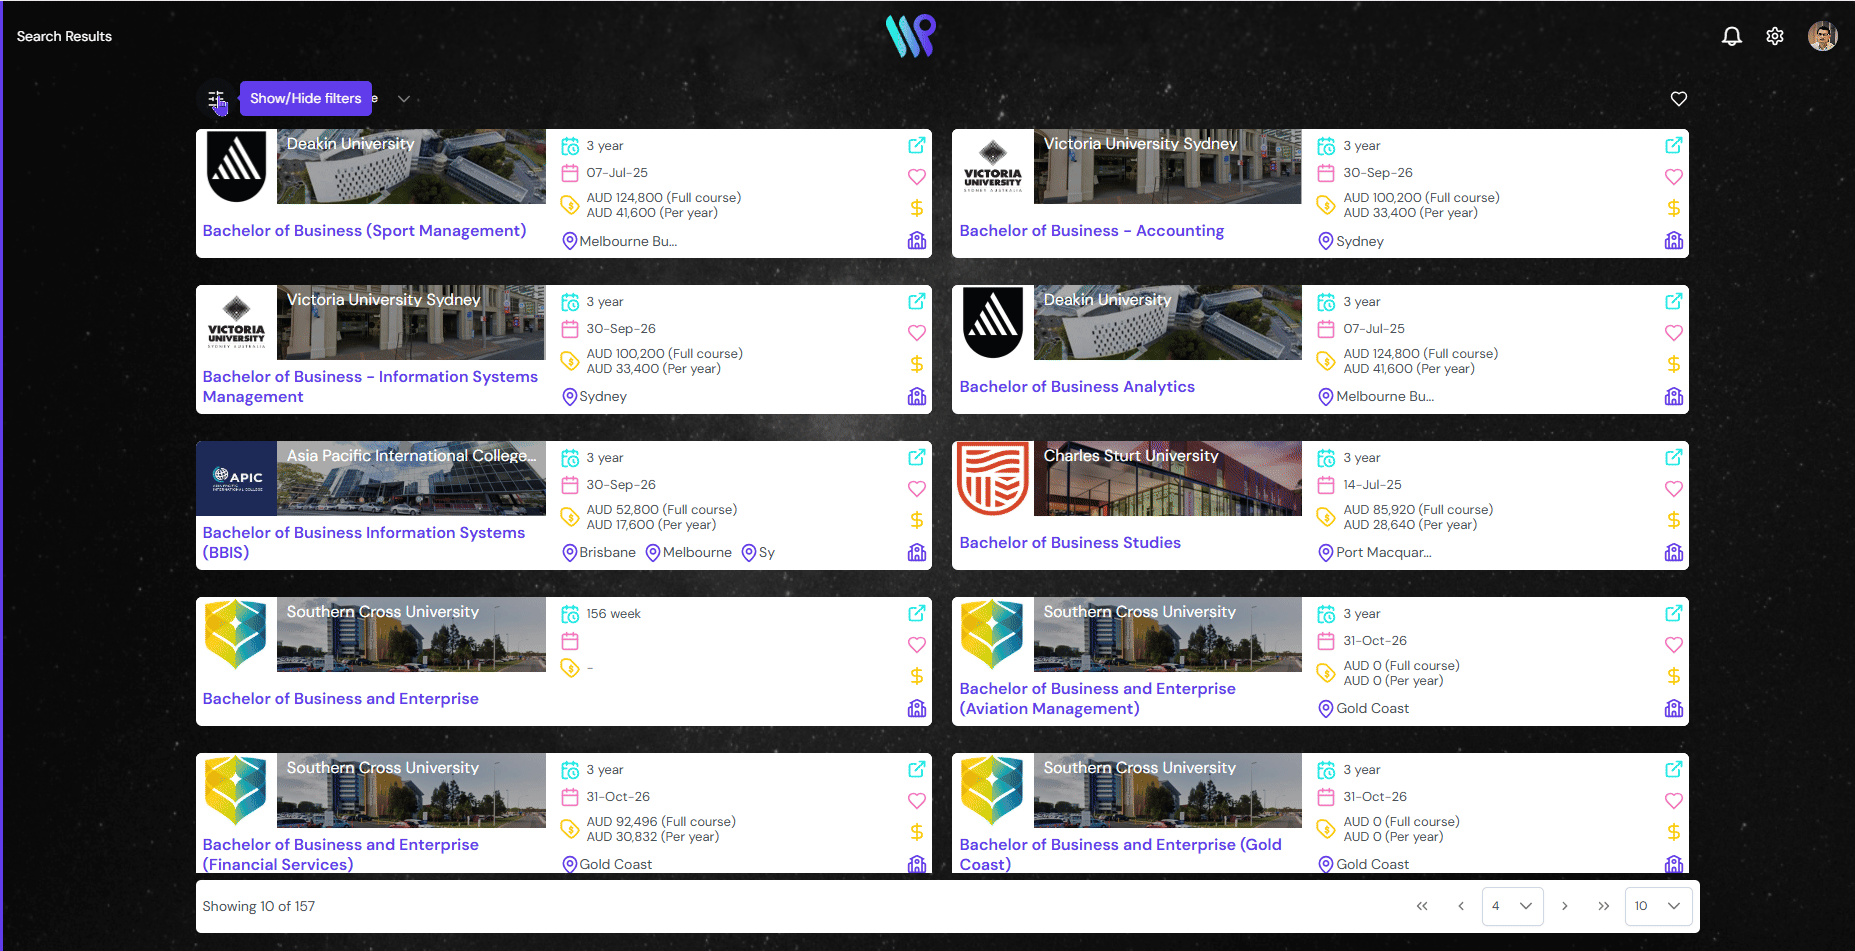
Filter Courses
Filters at the top right corner can be used to narrow down the search. Click on the filter icon to access various filters like Student’s Location, Study Destination or Institution, Course Sector, level or discipline. English Proficiency, Availability, Tuition fees and course duration. A separate page – Filter Pages, describes everything in detail.
Sort Courses
You can sort the course search results in ascending or descending order on the basis of Course Name, Provider Name, Annual Fee, Total Fee and Intake Date. Once this is selected, click on the sort button consecutively to change the sorting order. The default sorting is on the basis of Course Name.
Favourite Course
Best suited courses can be marked as favourite by clicking on the heart icon on the card. At the top right, you can see the number of courses you have marked as favourite. Click on the Heart Icon on the top right corner to ‘Compare Courses’, ‘Save to Student’ or ‘Save to Lead’.
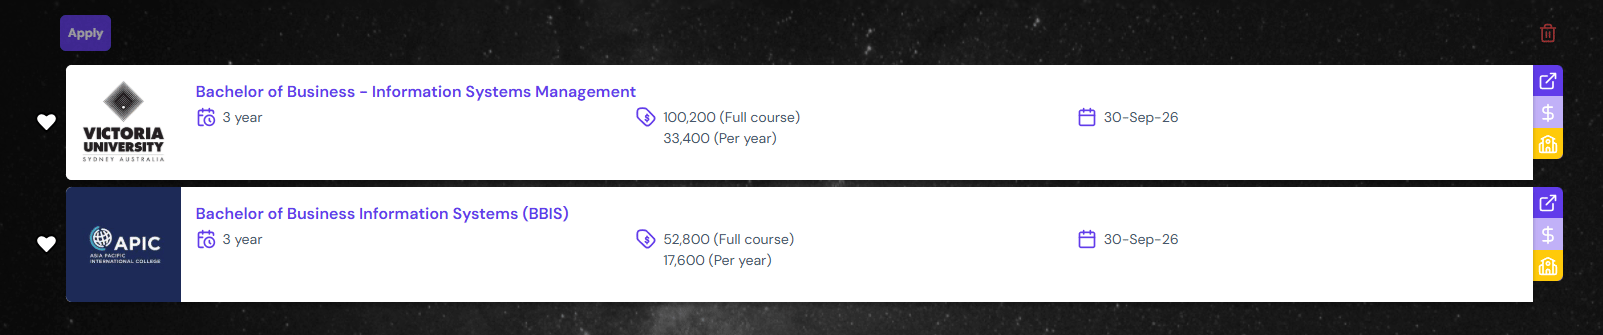
Compare Courses
Click on the ‘Compare Courses’ button appearing on the menu bar that appears after clicking the heart icon on the top right corner. A new tab opens with just the courses that you have marked as favourite. In this example, there are two courses. The information is on the card and in easy to compare manner. Use the buttons on the right side of the card like on the card view on the search results page.
Save to Student
A student might be interested in few courses. You can save all the courses to student’s profile by clicking on Save to Student button. Then, select the name of the student and click save. On the student profile, you can see ‘Student’s Favourite Course‘.
Save to Leads
A lead might be interested in few courses. You can save all the courses to lead’s profile by clicking on Save to Lead button. Then, select the name of the lead and click save. On the Lead profile, you can see ‘Lead’s Favourite Course‘.
Pagination
Use the pagination at the bottom right to navigate to next or previous page or directly jump multiple pages. You can also change multiple how many items / card you wish to display in one page.
Apply Course(s)
You can apply using various methods. Applying to multiple courses at once is also possible. You will reach to the Application Wizard once you hit the apply button.
From Course Compare
From the Course Compare page, click on the heart icon in front of the courses and click on Apply button at the top right.
From Course Details
Click on the Course Name on the card, the Course Details pane will appear. Then click on the ‘Apply’ button. Often times you might be asked to select the campus location when using this method.