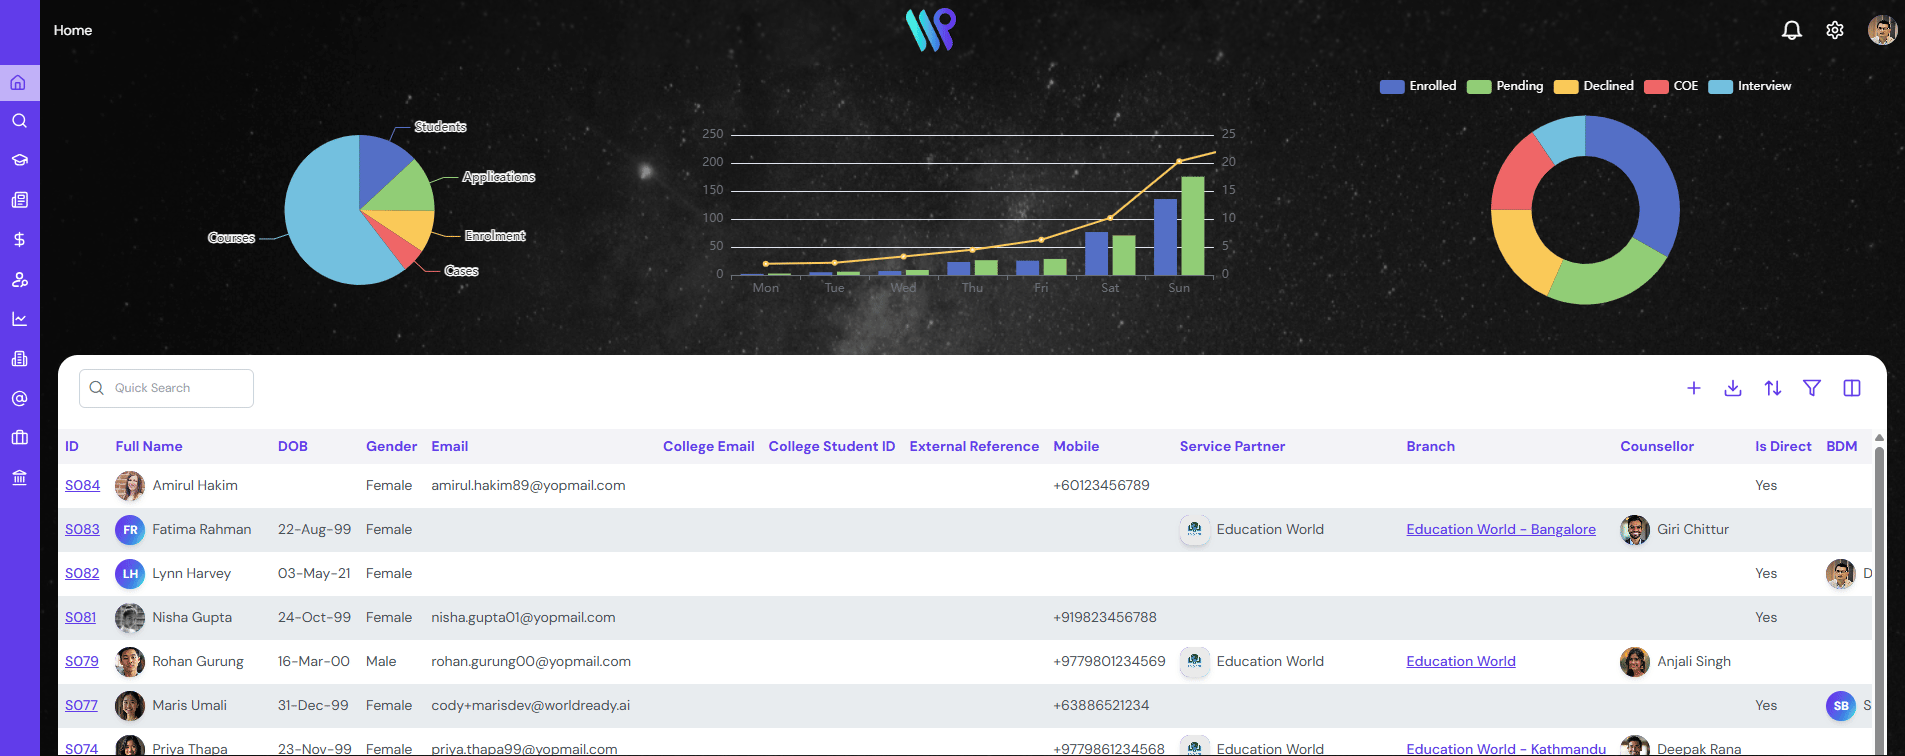
In this section, we will be looking at how we can manage and create new leads.
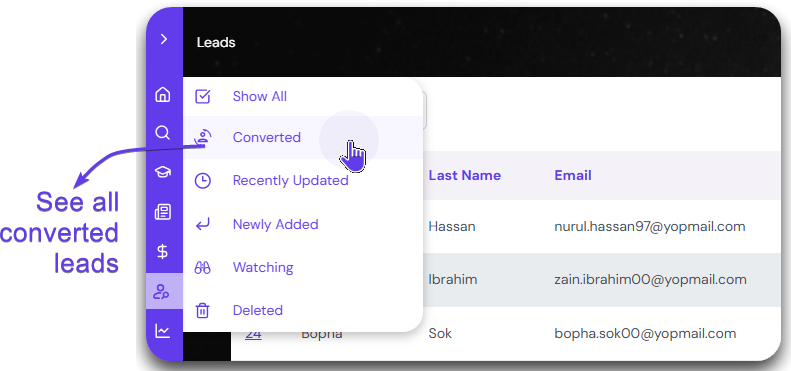
View all the leads listed in different categories.
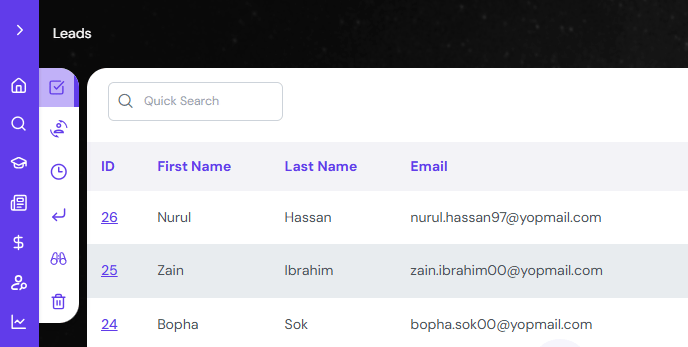
Click on the “Leads” on the main menu bar. All the lead records will be visible.
Sort the listing in various ways to get to your student record faster.
Click on Converted to see all the leads converted to student.
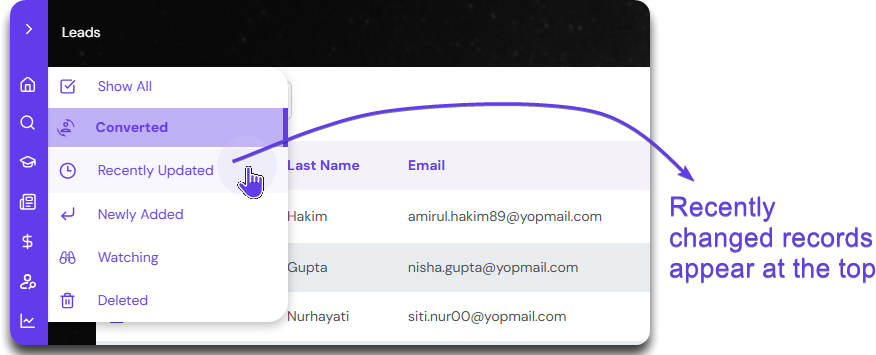
Click on Recently Updated to see the most recent records at the top.
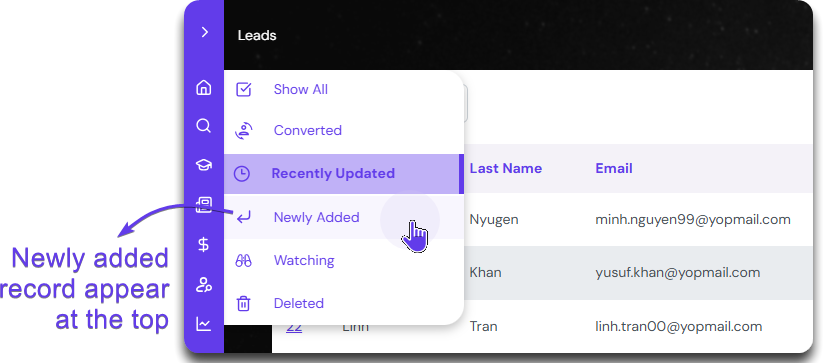
Click on Newly Added to have the most recent records at the top.
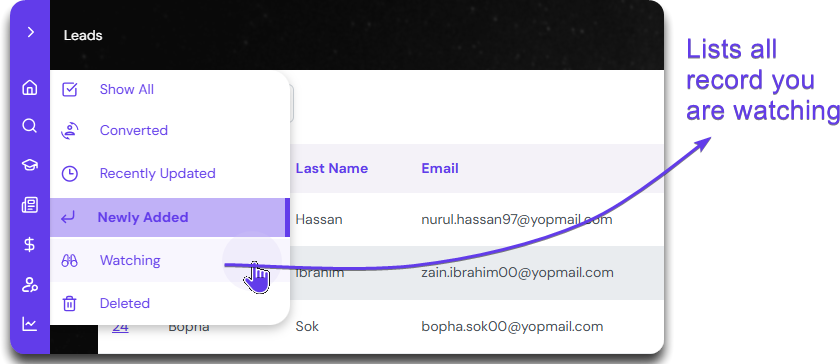
See all the records you are watching by clicking here.
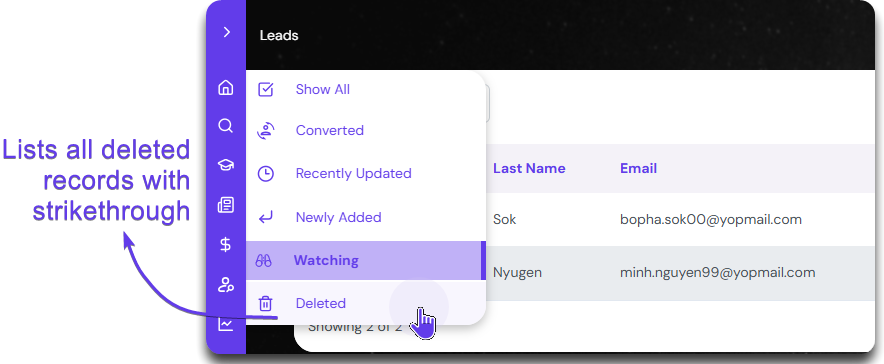
Clicking the Deleted button will list all the deleted student records with a strikethrough.
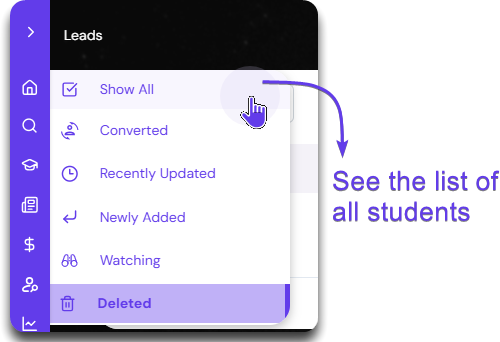
Show All button at the top will list all the active student records, except deleted ones.
Use the button to perform various functionality and navigate the leads faster.
Click on the Search bar to search for any lead record with Lead ID, Student Name, Email ID etc.
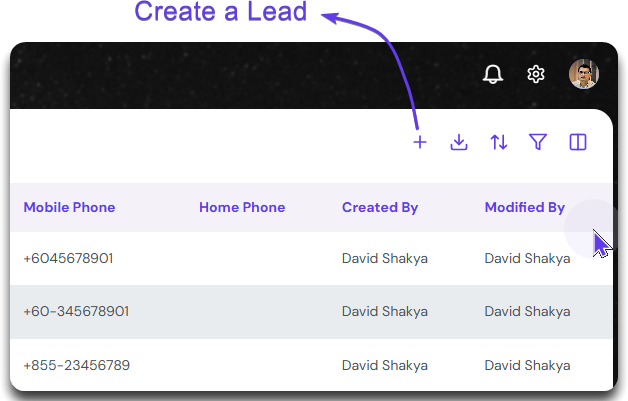
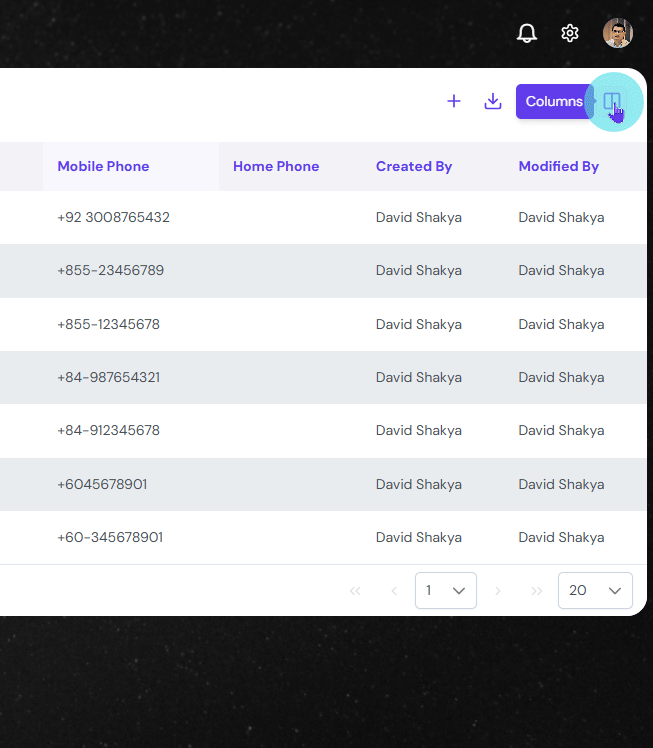
The first action button, the “+” sign will Create a new Lead.
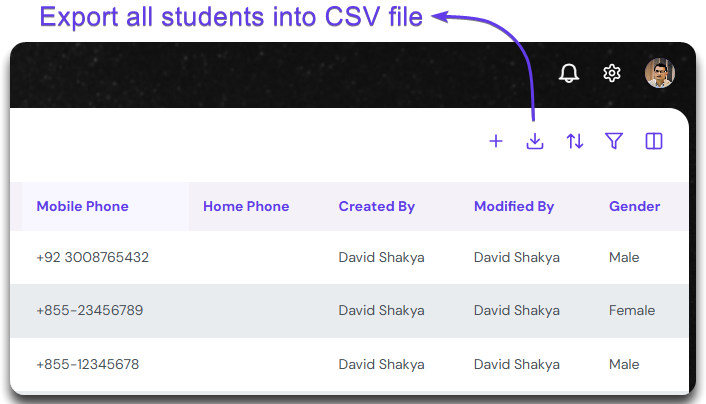
The Export CSV button will help export all lead records into a CSV file ready for download.
The next button on the Action Button helps to sort each column in ascending or descending order.
You can narrow down what you are looking for by using the filters too. Click this button to active the filters and filter out each columns.
Lastly, view all the column or only the desired columns by clicking the Show/Hide Column button on the far right of the Action Button