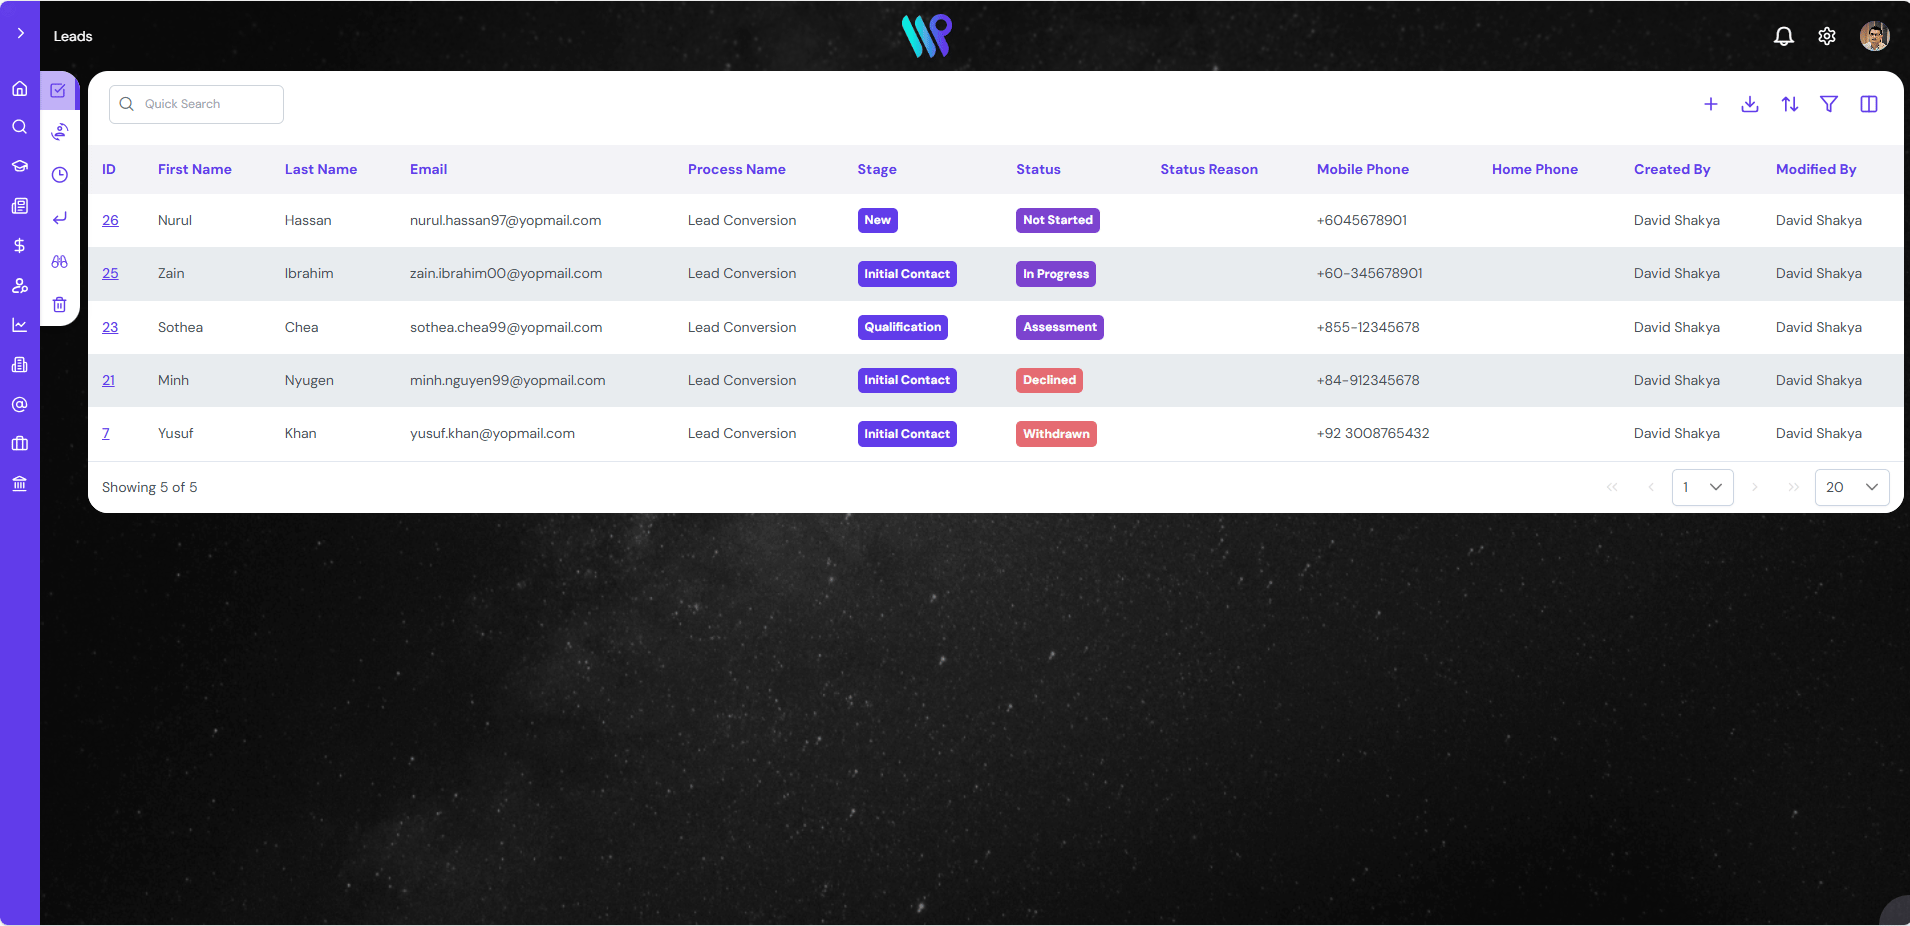
Create a Lead record to keep track of conversions and map the entire journey of the student.
Create a Student
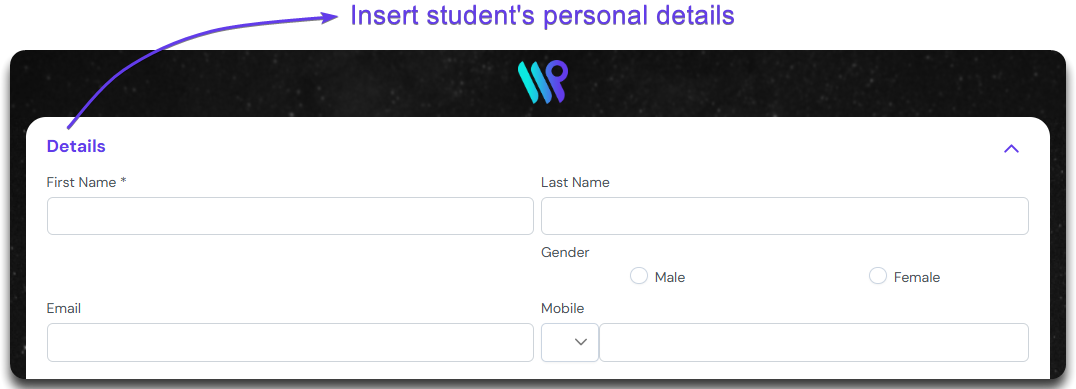
Fill up a student creation form and keep the record of the student to access everything about the student as shown below.
Click on the ‘+’ icon, the Create Lead button, to open the create lead form.
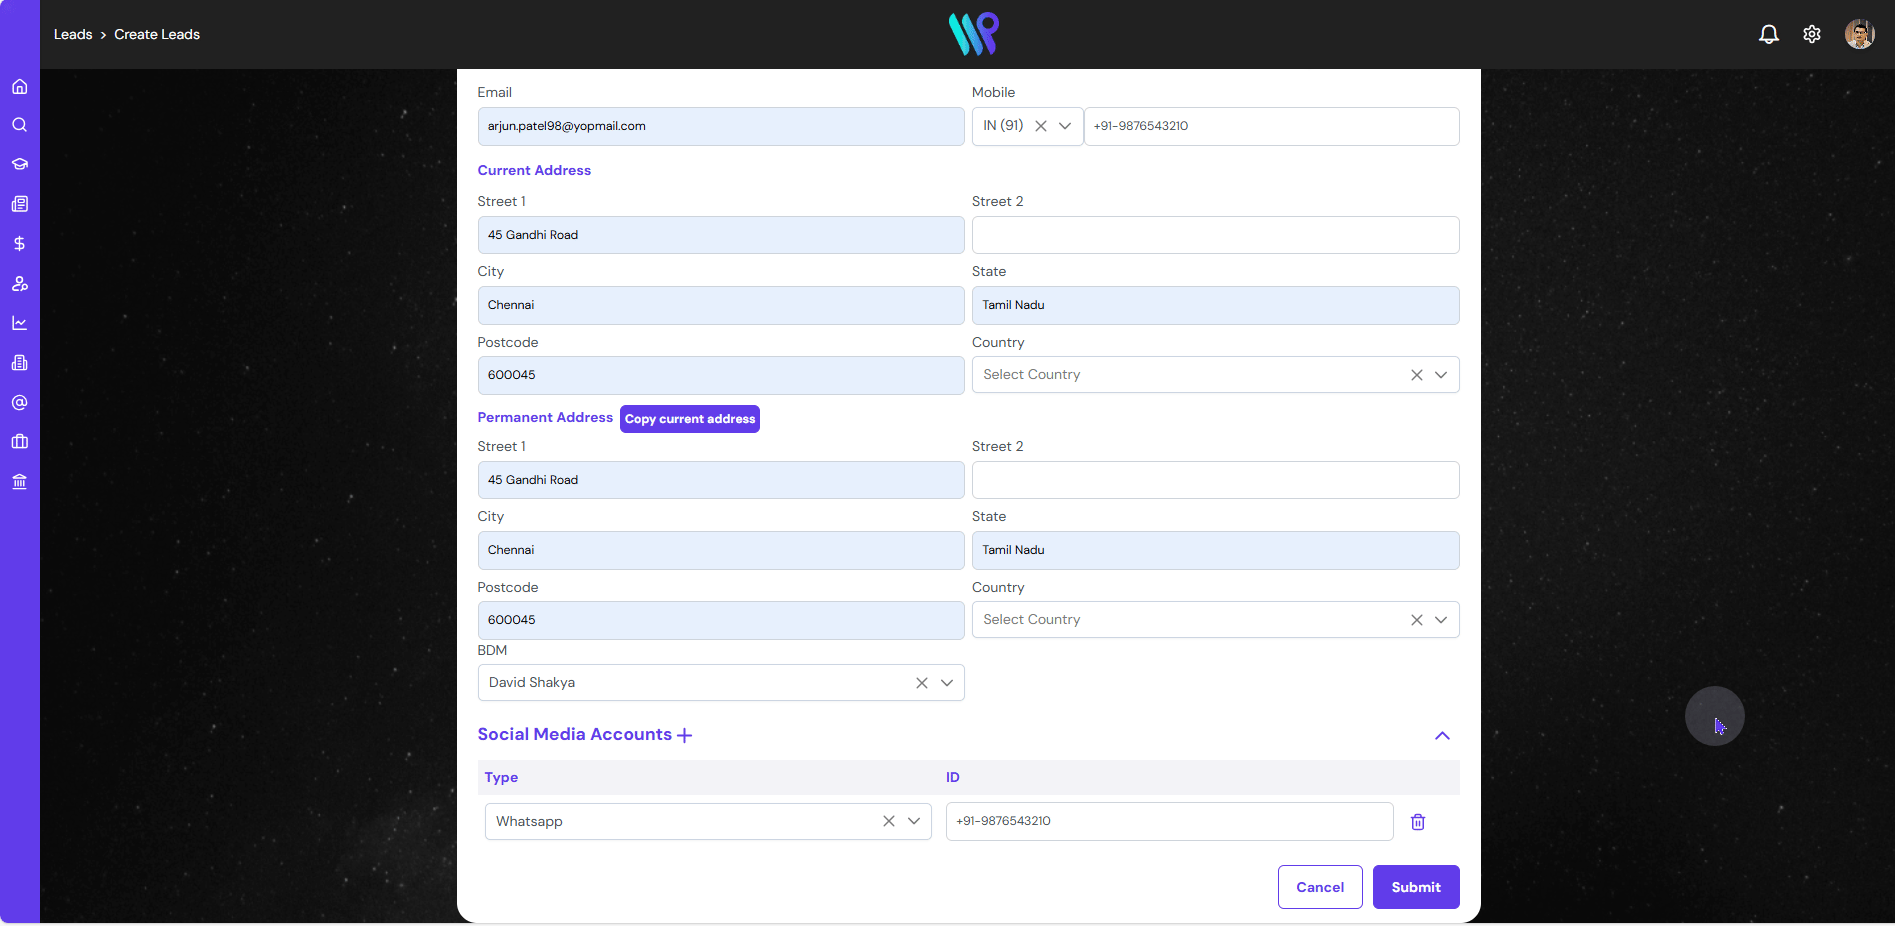
Input the Students person details in the Details section. like name, email and gender.
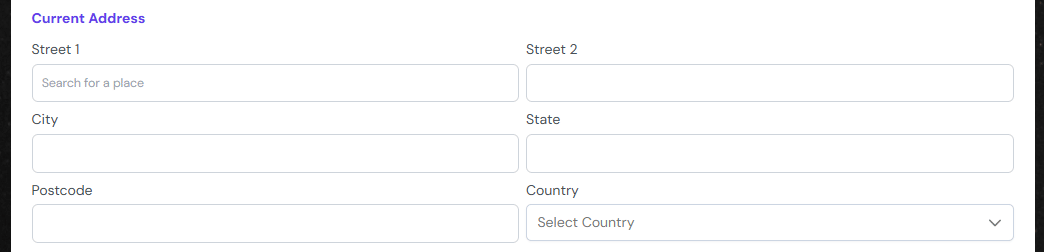
The next section is the address of the student. Fill in the current address of the lead. As soon as you start to type the Street name, it will pull out the information from Google Maps. You can overwrite the information too in case the location is not shown correctly or is not available in Google Maps
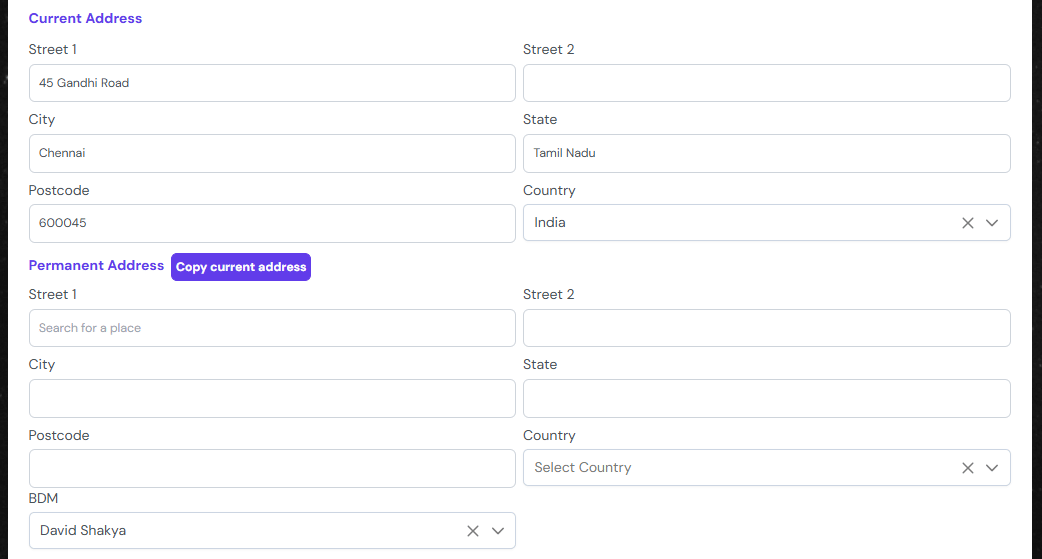
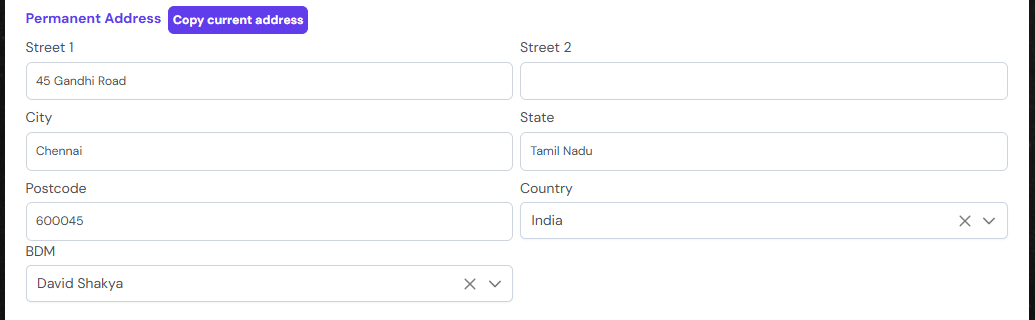
In the permanent address of the student, you can click, “Copy current address’ if the address is the same. Else, type out the permanent address.
You can select your Counsellor (appearing as BDM) to assign this lead to. Do this from the drop down. If you do not want to assign it, click on the ‘x’ button to remove any selection. Note the logged in user will be the default BDM.
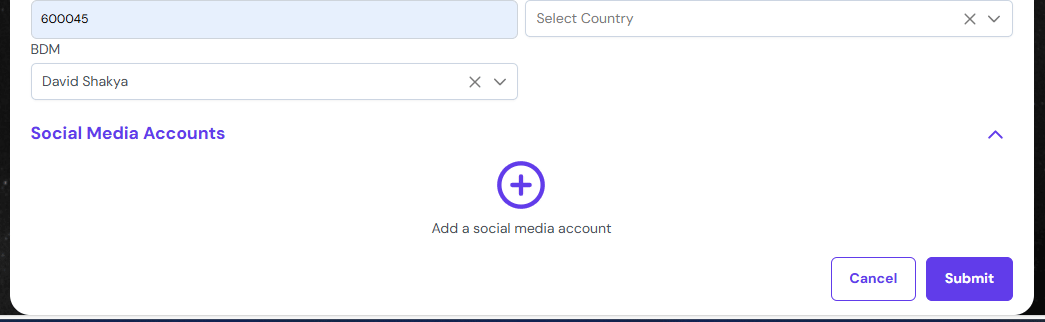
In the next section, the student’s social media handles can be added. You can select one and type their handle. Click on the ‘+’ icon and select Social Media type from the drop down. Most of the mainstream social media are listed here. Type in your handle name or link on the ID field. It is a text field at the moment, which means, it will not get converted into a link when displayed.