Learn about how to read, manage and take action on the student record.
Student Record Overview
Open to student record to take action on the student records, view its components and make the record up to date.
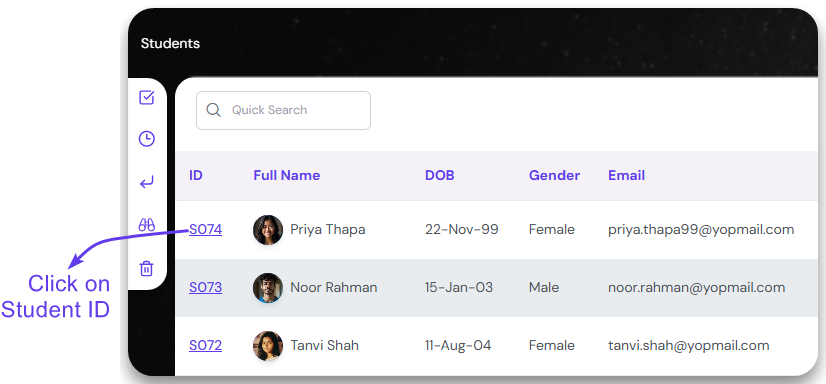
Click on the student ID on the list view to open up the student record.
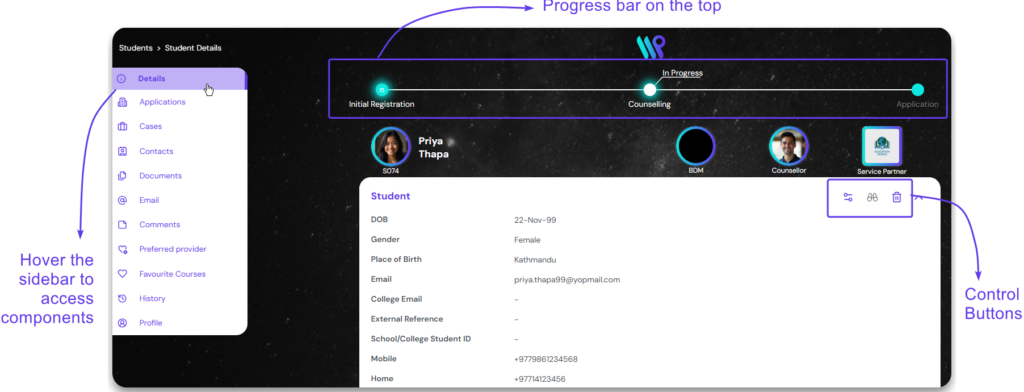
This will open the student record. Hover on the side bar to expand and access the components. The default landing view is of the application. Click on ‘Default’ to get to the view as below.
Notice the progress bar at the top, that is the process for handling this student. We will use the control buttons to manage it. .
Below the progress bar and the photo bar, you will be able to see the student records details.
A different section can be seen in a separate card view. You can see the passport details of the student in this. Click on the Expand / Collapse button to see the full details. The bottom part of the card has previous visa related information of the student.
This section covers the social media handles of the student. This section is collapsed by default.
The last part is the system information. This is generated by the system and is not fed by any user. This show information like who created and modified and when was it done. It also show the active or inactive state of the record.
Watch a Record
Watch a record to subscribe notification of changes and updates to the record.
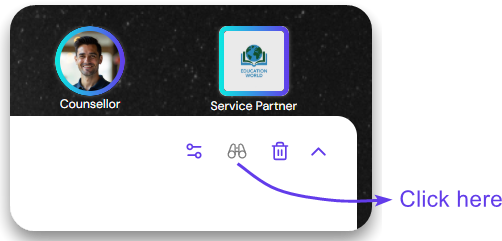
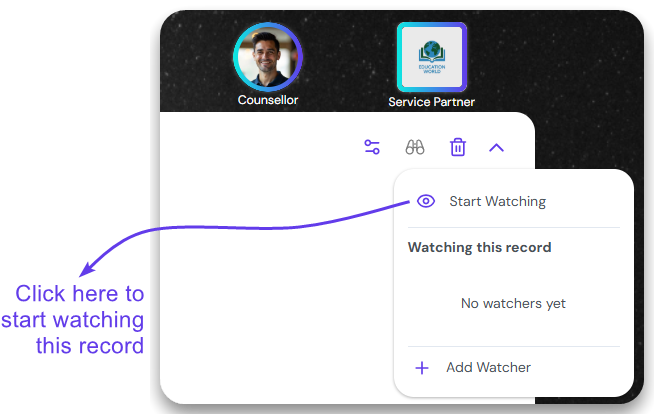
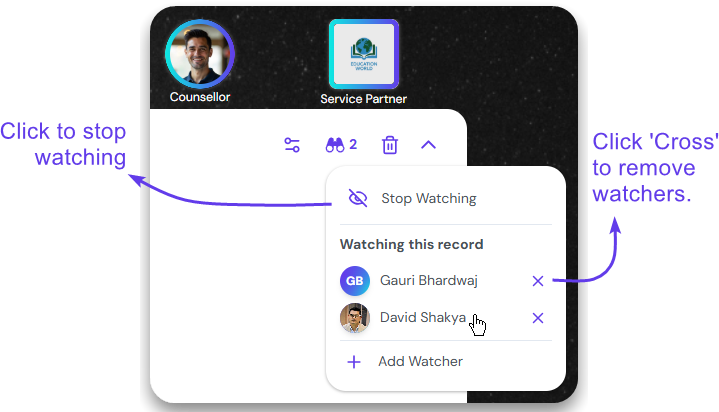
Click on the binocular icon from the Control buttons. Click on ‘Start Watching’, to add yourself as the Watcher of this record.
Click on ‘Start Watching’, to add yourself as the Watcher of this record.
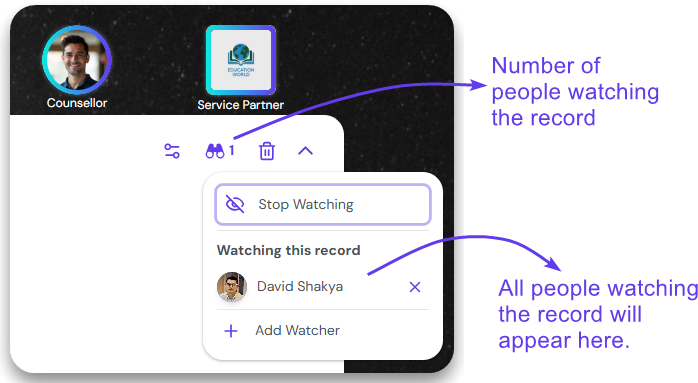
All the watchers will be listed under “Watching this record”. The number of users watching the record is also displayed next to the binocular icon.
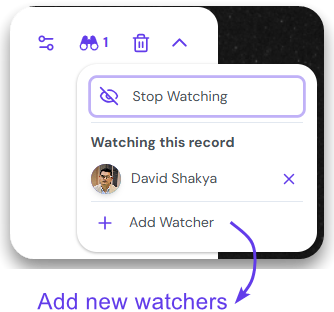
You can add additional watchers to this record by clicking on the ‘Add Watcher’.
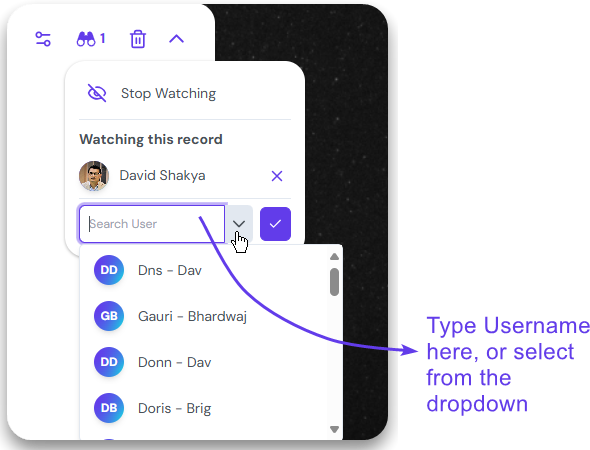
Type the username in the search bar or use the drop down to select the user you want to add.
The new watcher will be listed under ‘Watching this record’ section.
Click on the Stop Watching at the top to stop yourself from watching this record. Performing this action will opt you out from any notification being triggered if the record changes.
To remove others, click on the cross icon. They will not be receiving notification for the record any longer.
Deleting a Record
Learn how to delete and retrieve a record.
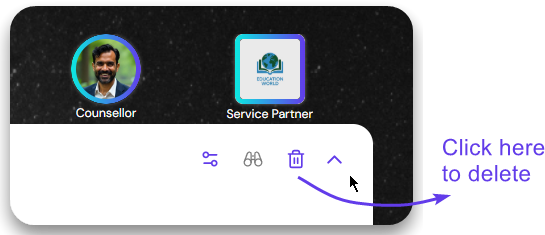
Click on delete icon on the Control Buttons to delete the record
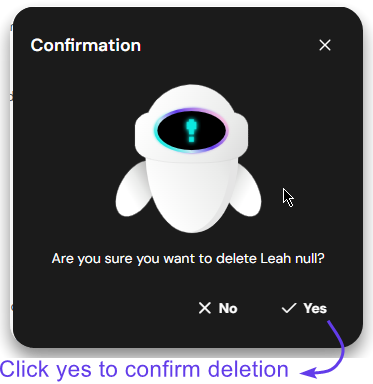
A confirmation pop-up comes appears where you can click ‘Yes’ to confirm. Another pop-up appears to confirm the deletion.
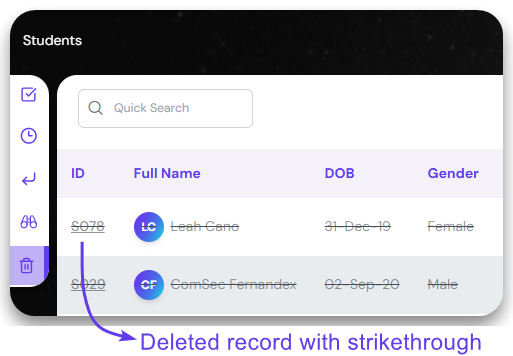
The deleted records can be access from the ‘Deleted’ section of the sider bar. The record will appear with strikethrough denoted it was deleted.
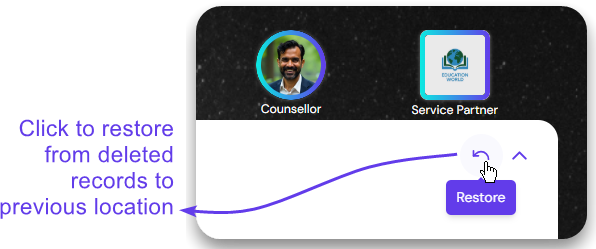
Open the deleted record by clicking on the ID. Click on the Restore button to undo deletion. The record will be moved to previous respective location.